Our main building project at Olabe is now complete! Finishing up the yurt and working out the kinks in our yurt assembly process took about a week in total. You can read about the first few days of the project in my previous post.
After the frame was up, there were four layers of weatherproofing/aesthetic coverings to put on, and a variety of ropes to lash to the frame for each layer.
1. Aesthetic canvas layer for the inside of the yurt

2. Plastic water proofing sheet, in two pieces

3. Four pieces of heavy wool felt insulation

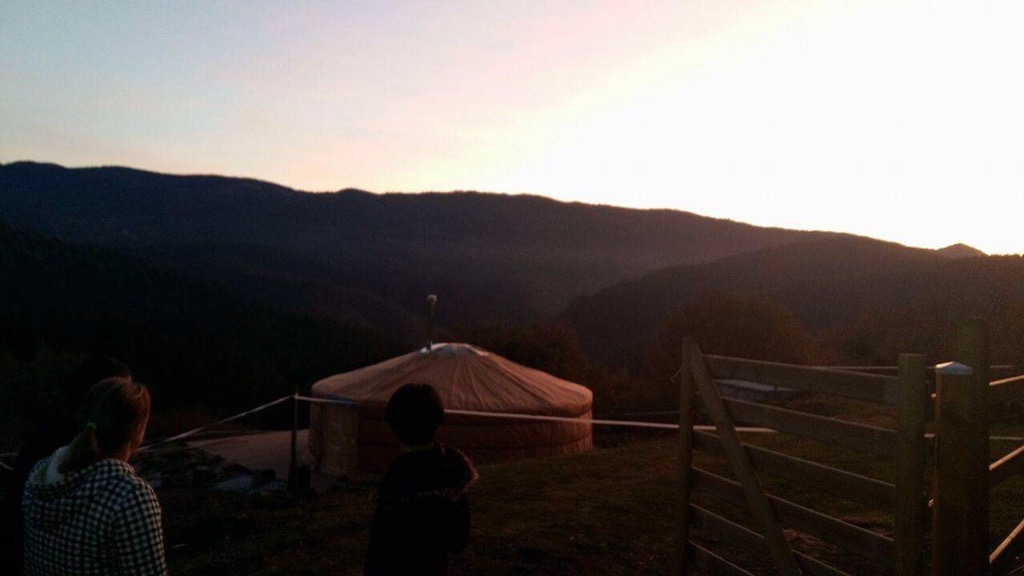
4.Three pieces of canvas outer layer and roof hat

Following this, we needed three more ropes to lash the canvas around the structure. The hat (which covers the windows of the crown) has four ropes which tie it to the ground.

Inside the yurt is looking cosy. There are a lot of good tutorials available on YouTube for how to properly wrap canvas around your yurt frame; I will include below some links to useful how-to videos*.
Next steps to complete this yurt was to get the floor down and the oven in. The decking that the yurt is built on is widely spaced, enough to lose coins, keys etc so the floor needed a bit more covering. The flooring was a set of puzzle-piece cut boards that slotted together and were screwed down.


The pipe above is for future wiring, we also needed to cut a few pieces of wood out to fit around the legs of the yurt.
I would probably build my yurt floor before putting the yurt up next time. It would have to be sturdy to withstand the stomping of yurt assembler’s feet…not sure what material I would use yet! Concrete? More research required.
Also, situate your stove with heatproof flooring and walls before installing the chimney. After this, it is time to add the window panes. The glass panes that came with this yurt were not cut to fit the frames, so in our case some silicone sealing was necessary. Make sure everything including the chimney is in place before sealing as this is the very last step.


Now it is time to do fun, comforting things like bring in rugs and wine, or cook kiwifruit pie and have nice chats.
It was a busy, challenging week but very worthwhile.

Related:
You can read about our previous days of yurt assembling here:
Yurt assembly in Basque Country; tips when building for your first yurt
*More instructions on yurt assembly; I hope someone can use these and save some time sorting through less useful ones!
How to build a yurt pdf by P.R. King

Responses
Fascinating readng. Could do with a Yurt in backyard Tmba. Look forward to the next entry.
I think so too. A hillside of yurts would look amazing! Thanks so much for your support xox
[…] Assembling a yurt part two; adding the finishing touches […]
[…] Assembling a yurt; part two […]
[…] are renovating the house and surrounding lands and invited us to stay and assemble a yurt with them. As well as the house and the yurt, there is lots of green space and opportunities to forage […]