
My partner and I have been busy assembling a yurt in the Basque Country. We picked up a few tips and ideas you might want to consider if you are starting out on your first yurt building project. It has been a challenging week to get the project completed. The yurt arrived in many pieces to be assembled; the site is here for anyone interested.
We had a lot of fun, learnt heaps about yurts and building, had a few laughs and did not get sunburnt in the days it took to assemble. All in all I rate the experience worthwhile. And the yurt is not falling down, which is great news for the family that lives in it now!
The first day was a bit hectic. The whole team had no yurt assembly experience before this, and we were doing too much guessing. To add to our inexperience, some of the parts that arrived were not right…there were two doors but the yurt was only designed for one door. Because this was not accounted for, the walls were not cut properly for the doors, and the pole ties included seemed too short for tying…
…and there was no strong plan across the whole team about what to do! I had not even looked at the principles of yurt design. Added to this, yurt assembly is surprisingly counterintuitive. And my partner and I do not know how to speak Basque, and there were members of the team that did not know how to speak English!
We got a structure up in the first day, but it felt flimsy and we could not get those last poles to hammer into place. That night ended in a bit of frustration but when you are being creative, every failure is an opportunity to learn how to make the next one better. I was optimistic that tomorrow would be an improvement.
Following dinner, we had some wines and an evening of YouTube tutes, which included a printout of the instructions, copious note-taking, and a few more “yurt build DIY pdf” searches. After this, we had a plan to rally around the following day.
A few tips we can offer for future yurt builders from this experience:
- Chalk an circle outline of the yurt to follow while you are linking the lattice pieces
- The lattice needs to slot in together, like interlocking fingers*

- Have spares for all the parts you will need – bolts, rivets etc
- Have spare instructions
- Remember to have breaks and eat!
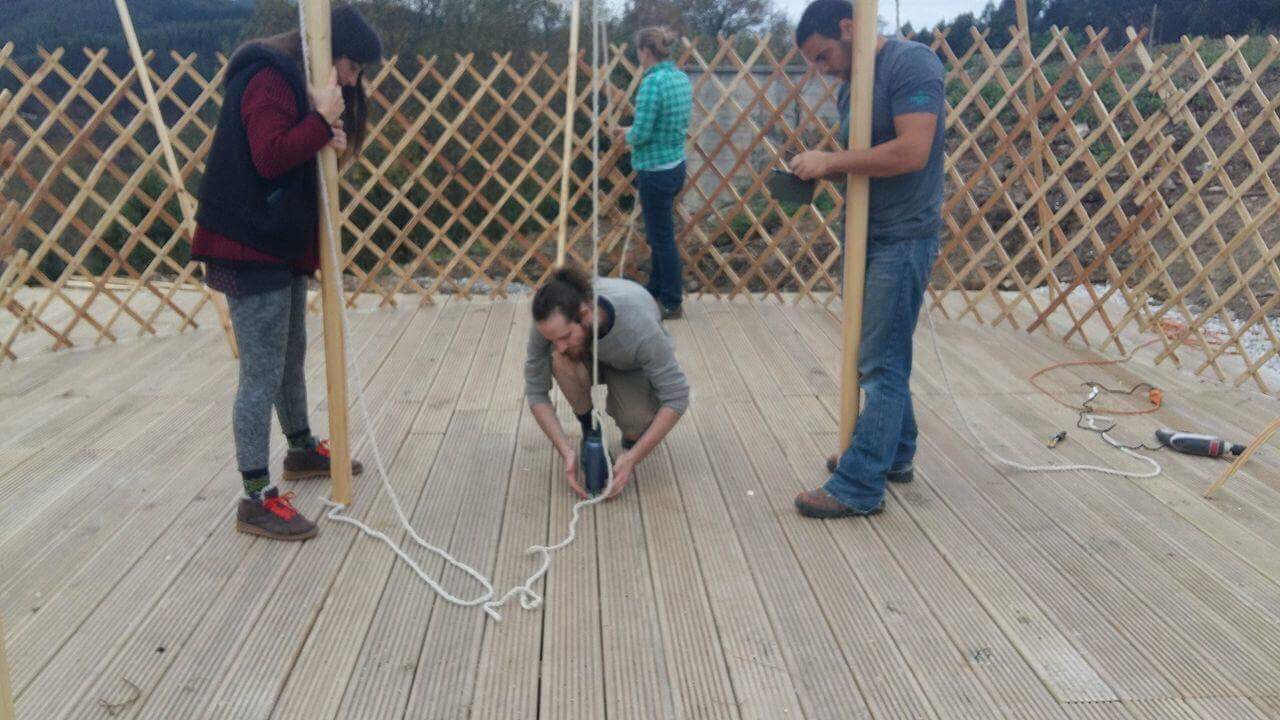
Here are a few photos from the first two days we spent assembling a yurt in Olabe;


Day two went better, the interlocking lattice was a really important step we had missed out. We also cut the second door in- some nail biting moments but with careful measuring these have fit into place.
End of day two, the structure was up.
Before starting the a yurt of your own I would try to have an answer to these questions; the answers you come up with will vary. I wish anyone starting their yurt the best of luck coming up with their own answers! This kind of project is a real learning journey.
How are you going to lock the yurt? How long are you planning on having it up for in the area? Where is the rain going to fall, and run during heavy showers?
What are you going to have as your ultimate floor you are living on?
If you have a stove, do you have a heat plate for your (maybe) wooden floor?
How permanent is your yurt going to be? Will you want to seal the window panes?
Hopefully these yurt building hints and pointers will save any one starting out a bit of grief though! Good luck and don’t forget to drink water…
*other, better yurt builders have written great pieces on how yurts are put together, with photos.
More links below:
How to make a yurt in three days:
The construction of a yurt:

Responses
[…] ← Yurt assembly in Basque Country; tips when building for your first yurt […]
[…] family. They are renovating the house and surrounding lands and invited us to stay and assemble a yurt with them. As well as the house and the yurt, there is lots of green space and […]
[…] that the yurt is up, there is a well trod muddy incline that needs to be turned into a pathway. It is slippery in […]
[…] Assembling a yurt […]