How to crochet a uke case; plan in action
Welcome! I was just explaining how to crochet a ukulele cover. I recently finished the Planning stage of the case hooking process, and have been just soooo busy with the Making phase.
To begin making, I have my sketched design of a crochet case with two straps, buttons, a fancy lace pocket, and an clip-on carry strap parked beside me. I have my blue wools, the correct hook, all the hardware clips and a ukulele to make sure the case continues to fit as I go along. Lastly, I line up cups of tea, hard candies, and informative murder documentaries to watch while I flail around on the couch crocheting at all hours.
Where to start; crocheting the case body first
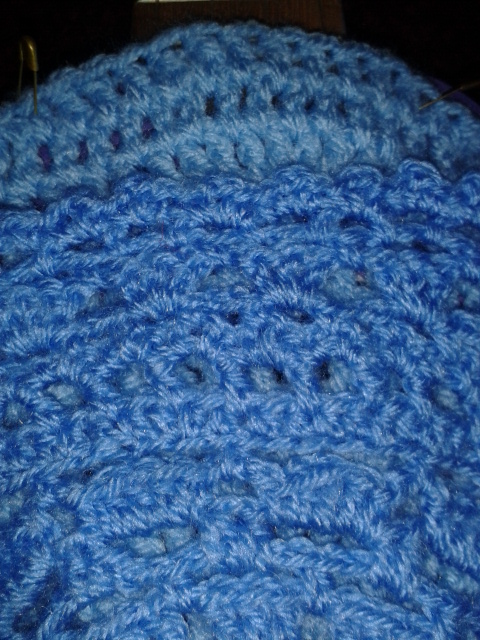
Starting out strong, I created the main large circles, which I would then be able to crochet off or sew pieces onto. I used 3.5mm needles and 8 ply wool throughout.
After finishing off the circles, I shaped two pieces on the sides of each to create the two peanut-ish outlines for the body.


I then made a third, lacier circle using a darker blue wool. This third circle was my pocket, which I sewed onto the front peanut. After that, I crocheted up the shape a bit further to create a longer pocket.


I then crocheted the two side strips that would hold these peanut-shaped pieces together. The two side strips were created by crocheting two alternating blues to make a checkerboard pattern.
Artist’s note: I came to regret this decision. It added so much time to the case making process throughout. While it looks nice, if you are following this pattern to crochet your own ukulele case, a solid colour will get the job done a lot faster.


After these side parts were sewn on, it was time to move to the next step! The tubular casing that encompasses the neck and head of the uke. Although I was already regretting my choice to crochet a checkerboard pattern, I felt at this point I had come too far and to change to a solid colour would look out of place. I had obviously made a decision on the case’s final aesthetic, which was too many patterns. So I stuck to my guns.
I chose to crochet directly onto the body of the work this time, and directly worked into the top of the piece to create the long crocheted neck. You can see in the photos I have two active strands of wool winding out and away.


I then got the length right to snugly cover the head, turned the tube inside out and sewed it up to create a neat seam.

So that was the back of The Great Crochet Ukulele Cover project broken. I have successfully moved into crochet project phase three, the Finishing. This is where I made the securing straps for the body, added the buttons and crocheted the removable strap.
Again, this had turned into quite a post, and contains a lot of mumbles about wool peanuts and checkerboard regrets. I genuinely hope that there is a tutorial amongst the rambling for someone else out there, and it helps someone make something a little bit odd, and totally custom for their uke. If you are still reading this, thanks for bearing with me!
Related:
Part one of Crocheting A Uke Case by Kelly-Marie McEwan
I do a few posts here and there about things I have made, I keep them all in the How-To category.
There are some helpful tips and tricks on how to keep a crocheted circle flat here.

Response
[…] A three-part breakdown of crocheting a ukulele case: One, Two, Three […]