
Making earmuffs to keep the cold out of my head
I don’t know how everyone else does it in the northern hemisphere in winter. I swear, the cold blows straight into the part of my brain that gets a brain-freeze, and shortly after, I develop a headache. So I made a pair off earmuffs this winter to keep the cold out.

I actually created them on the bus trip from Baltimore to New York, which was over a month ago. But, things have a habit of getting in the way, so I am only getting to write about it now. Here is my how-to on making earmuffs.
So, I found a pair of broken earmuffs, and a pair of broken nylons, and I am using those shapes as a base to create a more interesting thing. I wanted to record the pattern I am making up for it as I am going along, and what better place for it than the internet? This will be kind of a long post, so I am breaking it up into a few parts.
Ingredients for making a pair of earmuffs
2 x 6cm (2.2″) diameter earmuff pieces
1 x pair of too-small stockings that you have ripped and want to throw out
2x 50g acrylic 6ply wool, any colour you want!
3mm crochet hook
1x adult-sized alice band
2x 30cm long ribbons in complimentary colours
The stitch list
Chain stitch (ch)
Slip stitch (sl st)
Single crochet (sc)
Single crochet two together (sc2tog)
Half crochet (hcr)
Double crochet (dc)
Now, before we start, I would like to note that I was using any old wool that I had lying around, and that is something I would not recommend if you enjoy having a uniform look to your earmuffs. Mine are four different colours, but that is because I don’t really care that they are four different colours.
First step: Snip the ear part off your old earmuffs, and sew the loose ends together (I don’t think it matters how rough they look, as they will eventually be hidden under crochet).

How to crochet the earmuffs:
1: 3 ch, 1 sl st into the first one to form a ring.
2: 2 sc into each of the stitches into preceding row.

3-5: Repeat row 2.
6: 1 sc, *2 sc, 1 sc, repeat from * until the end of the row.
7: 1 sc, 1 sc, *2 sc, 1 sc, 1 sc, repeat from * until the end of the row.
8: 1 sc, 1 sc, 1 sc, *2 sc, 1 sc, 1 sc, 1 sc, repeat from * until the end of the row.
9: 1 sc, 1 sc, 1 sc, 1 sc, *2 sc, 1 sc, 1 sc, 1 sc, 1 sc, repeat from * until the end of the row.
10: 1 sc, 1 sc, 1 sc, 1 sc, 1 sc, *2 sc, 1 sc, 1 sc, 1 sc, 1 sc, 1 sc, repeat from * until the end of the row. The work will have a wavy edge, which is necessary for the piece to curve around when it will need to.
11: 1 sc into each of the stitches from the previous row.
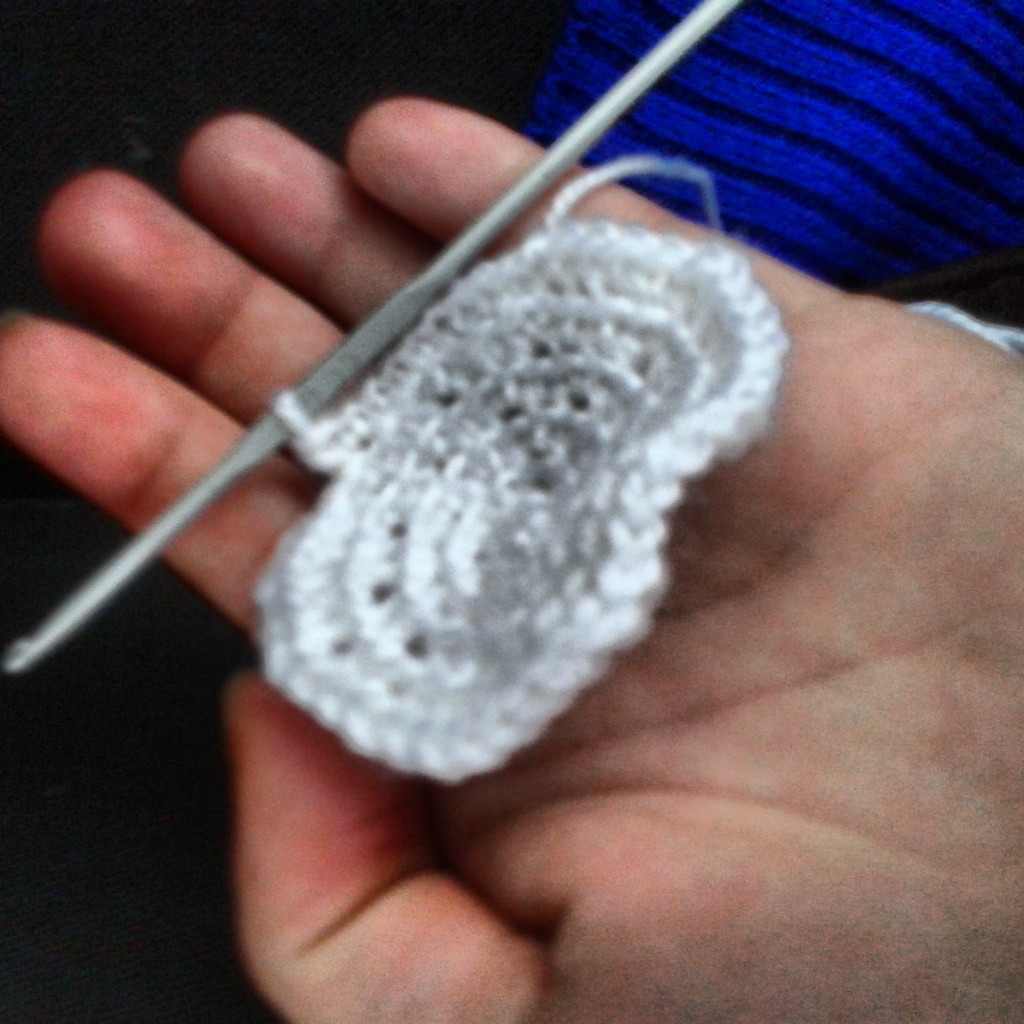
12-14: Repeat row 11. After row 14, this is where the puff will begin to turn inwards. The wool should have started curving in on itself, and resemble something similar to a shallow bowl shape.

15: 1 sc, 1 sc, 1 sc, 1 sc, 1 sc, 1 sc, 1 sc, *sc2tog, 1 sc, 1 sc, 1 sc, 1 sc, 1 sc, 1 sc, 1 sc, repeat from * until the end of the row.
16: Repeat row 15 again. Fasten off. You will need to come back to this part to add the earmuff piece and stockings, as well as close it off. But for now, it will remain open, so you can manipulate the work better while you work on the petals.


Responses
[…] ← Making earmuffs for the winter chill, Part One […]
[…] to Part Three of my crochet earmuff tutorial! In Part One, I wrote about creating the crochet body, which the crochet petals are worked onto. In Part Two, I […]
[…] to crochet a pair of earmuffs (parts one, two and […]