Crocheted gloves, making something with broomstick lace stitch.
While filling out paperwork and following due dates for various things on my artist schedule, there’s been some time for experimentation and learning new things, fortunately. One of those things has been broomstick lace stitch. This was via a really clear tutorial from nastazia.com. I have linked it; it really only took about 3 watches to get a really solid idea of what was needed to be done;
And I wasted no time in putting that stitch to something I’ve been wanting to create for awhile:
Crocheted gloves.
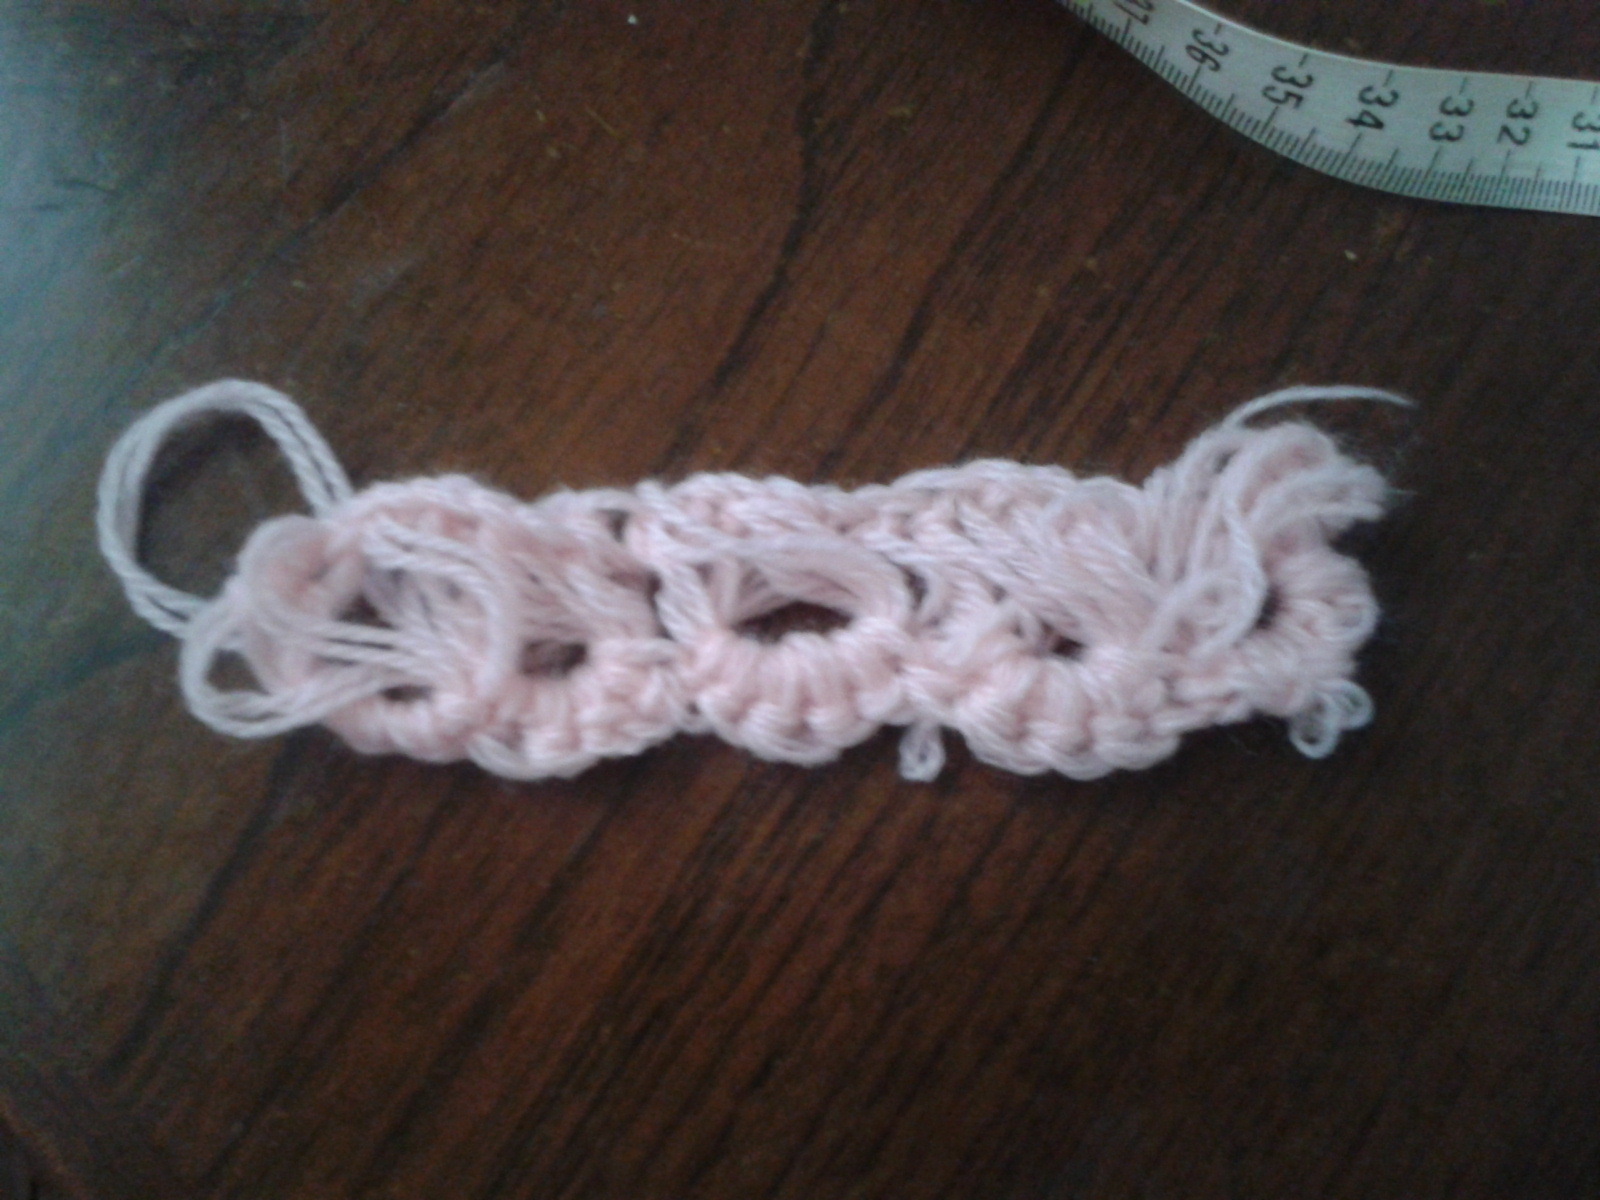
As I didn’t have the large knitting needle required for this stitch, I looked around for something with a similar diameter. The body of a recorder? Yes please!

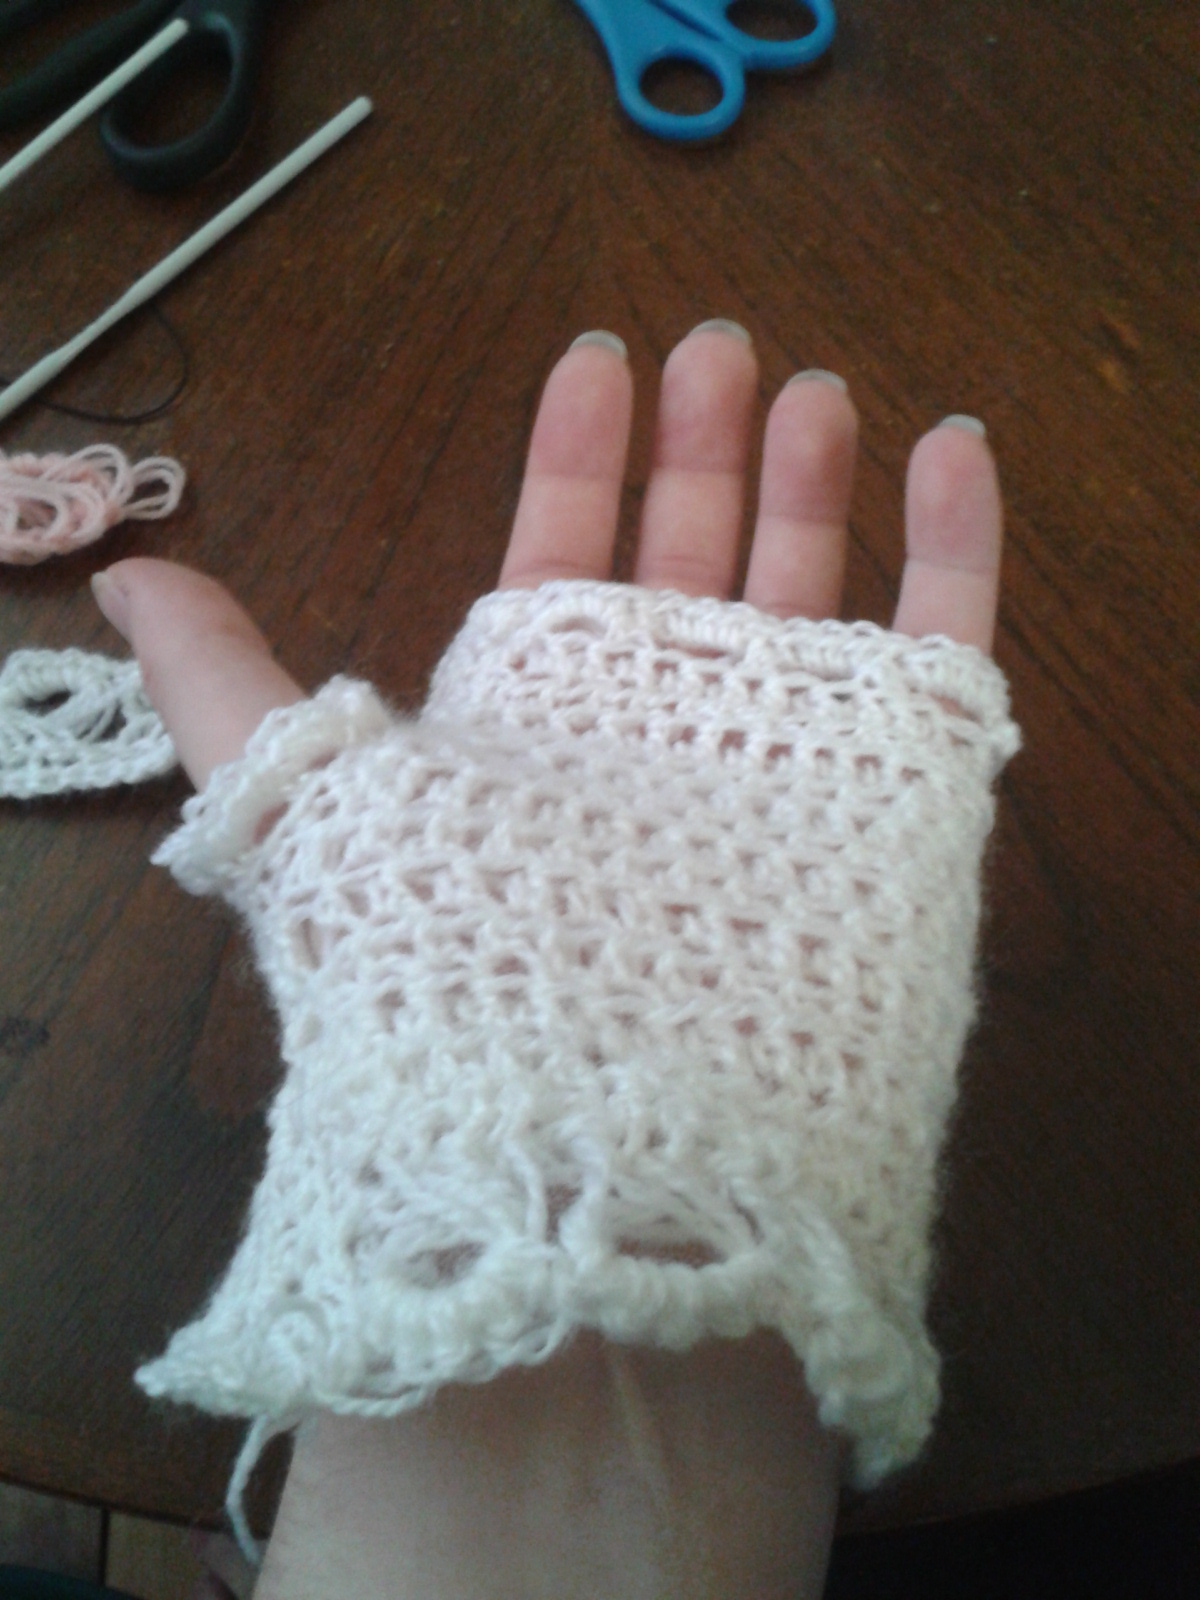
So, after some hiccups with the first attempt, I had an idea of the stitch and it was time to apply it to a real world situation: Glove cuffs.
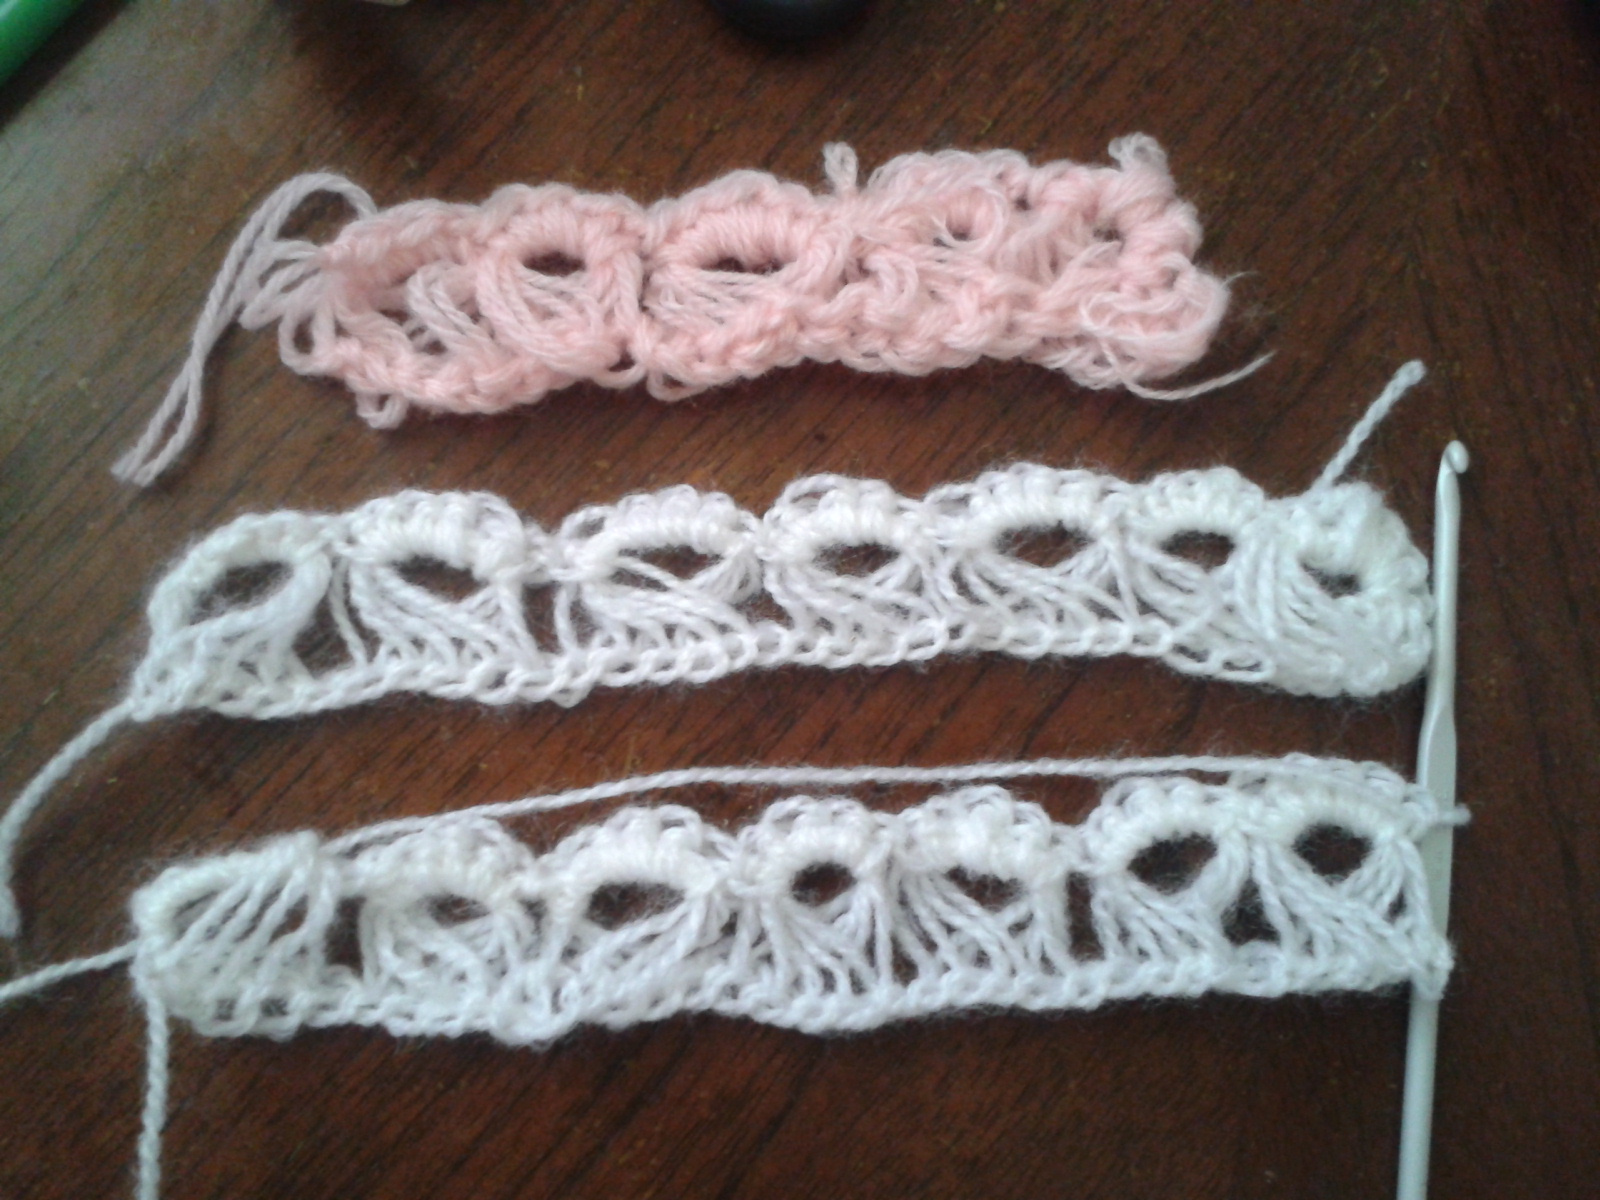
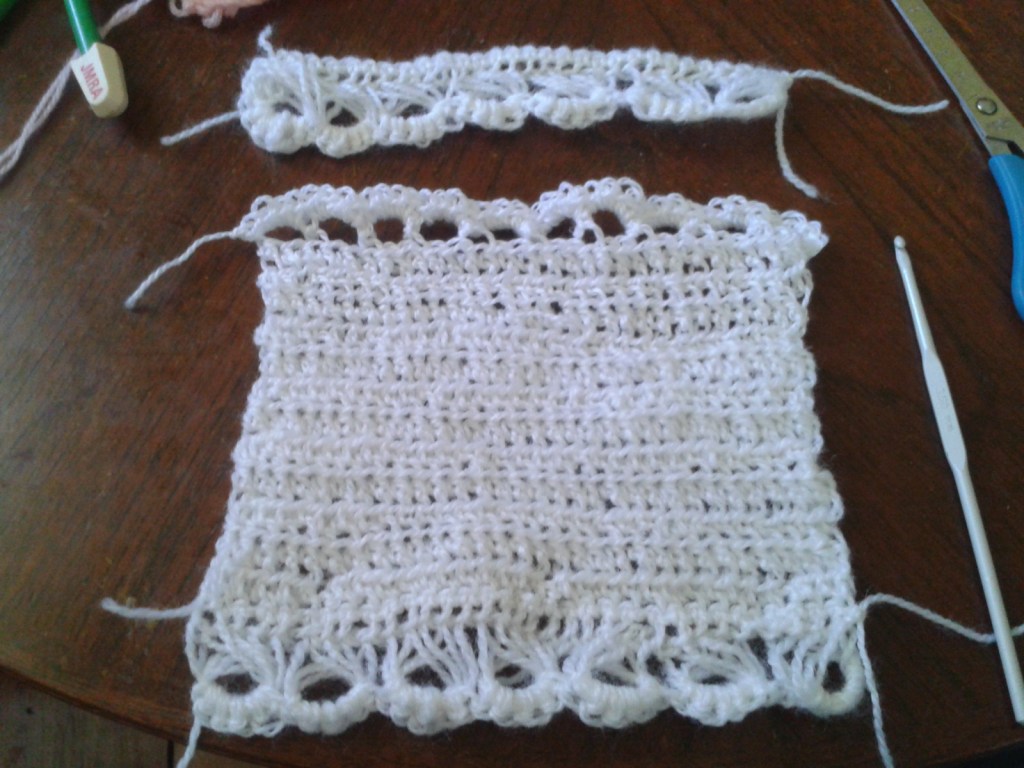
After creating those, I tied off the lace strips and began working my next stitches into the bottom of the broomstick lace strips.

I think did double crochet (USA) for 8-10 rows 1:1, measuring against my hand as I went. When I had it long enough, I did 4ch, 1sl.st into previous d.c, turn over, 6 s.c into each of the 4ch loops to create the lace-ish effect on the other end. Tie off and celebrate!

One glove down, I repeat this pattern for the second strip of broomstick lace.

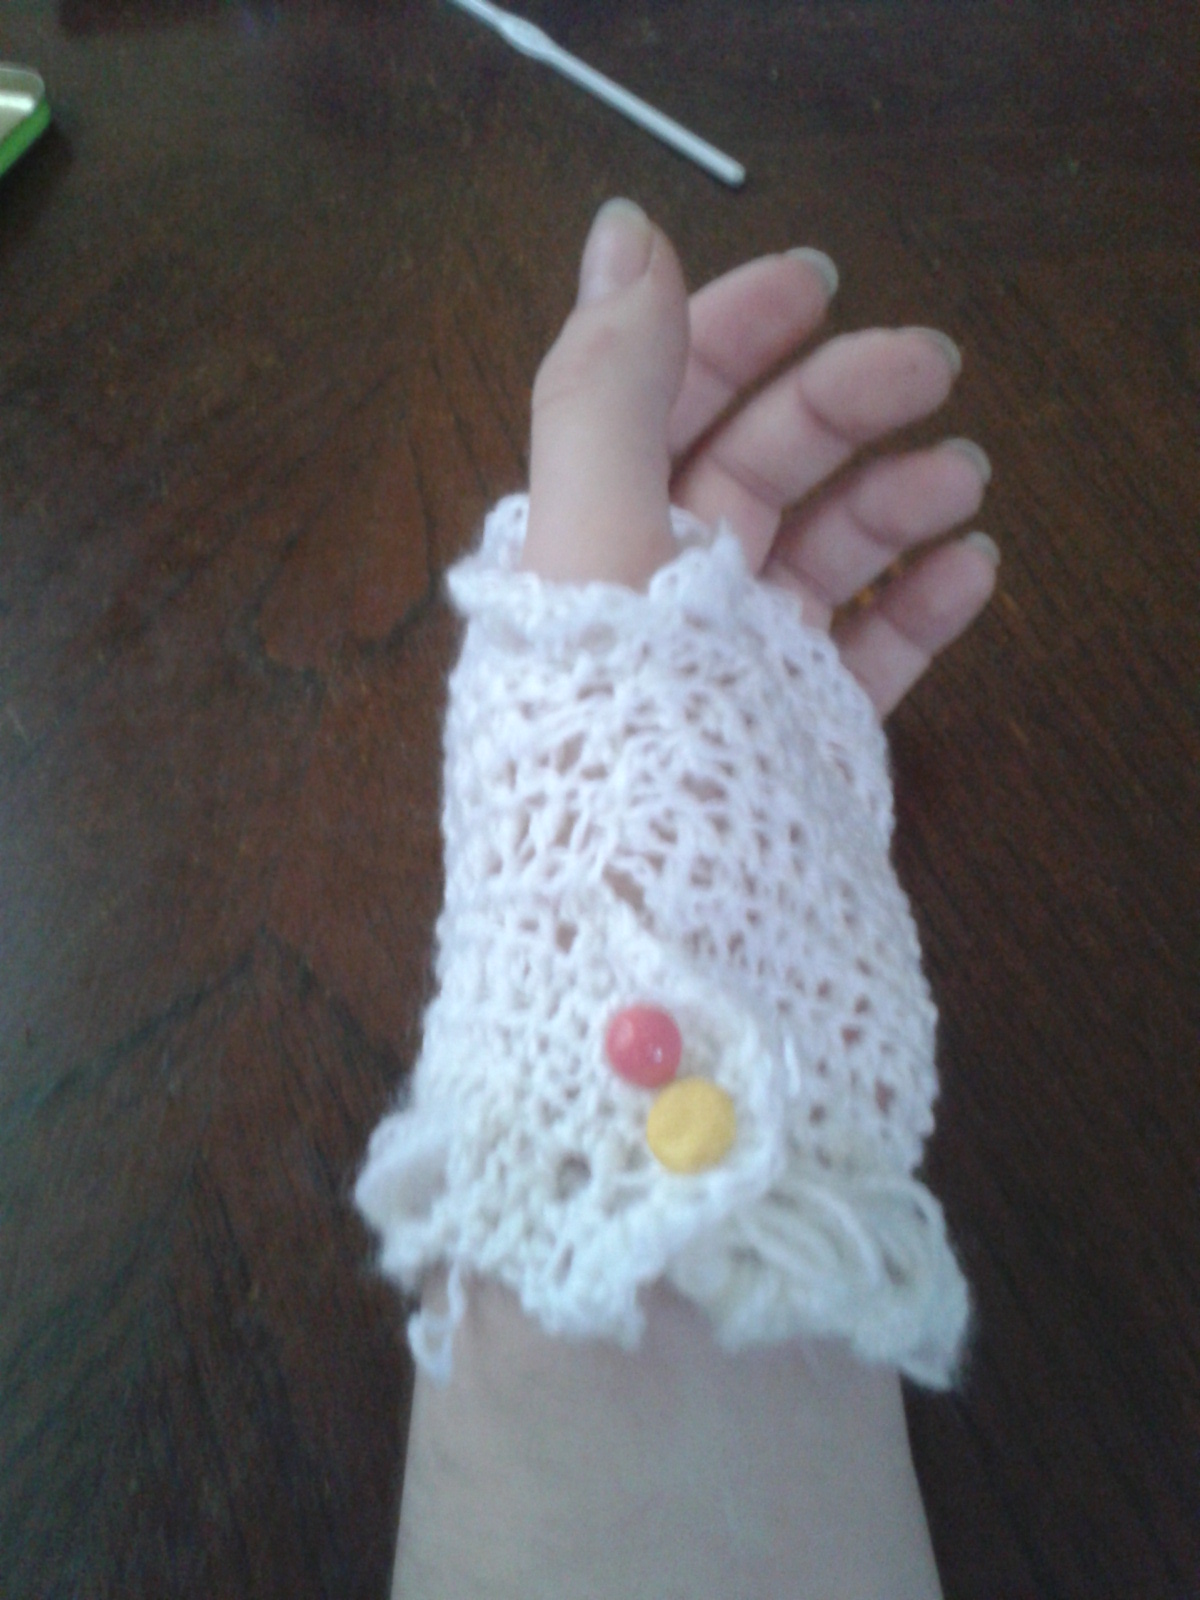
Being right handed, I pinned the first one to my left hand to determine where to sew, where to place the buttons and where to make the thumbhole.


This is where it gets tricky, and I forgot to take a few of the photos. In short, you sew up the sides and around the thumbhole crochet 1:1 d.c and repeat the pattern used on the end of the gloves to make the lace around the thumbhole.

I also crocheted an extra flap along the wrist, adding two button holes. Woollen items stretch, and I’ve found it’s a good idea to include extra attachment structures to all woollen works.
Finished, without buttons. I just went through my button jar for those, and found four that were approxiately the same size.

The second is just a repeat of the first. I find it goes quicker too, now that I know for sure what to do.