
Making a dress
Making a dress is complicated. There’s all sorts of hidden layers to the process that you need to research first, or be mentored by another who’s versed in the art. I have inches in the bookshelf dedicated to the process, and I completely disregarded them as I went about created a dress in early Jan.
Retrospectively, it’s literally because I forgot they were there, and now I have one in front of me that has all sorts of wisdom to impart:
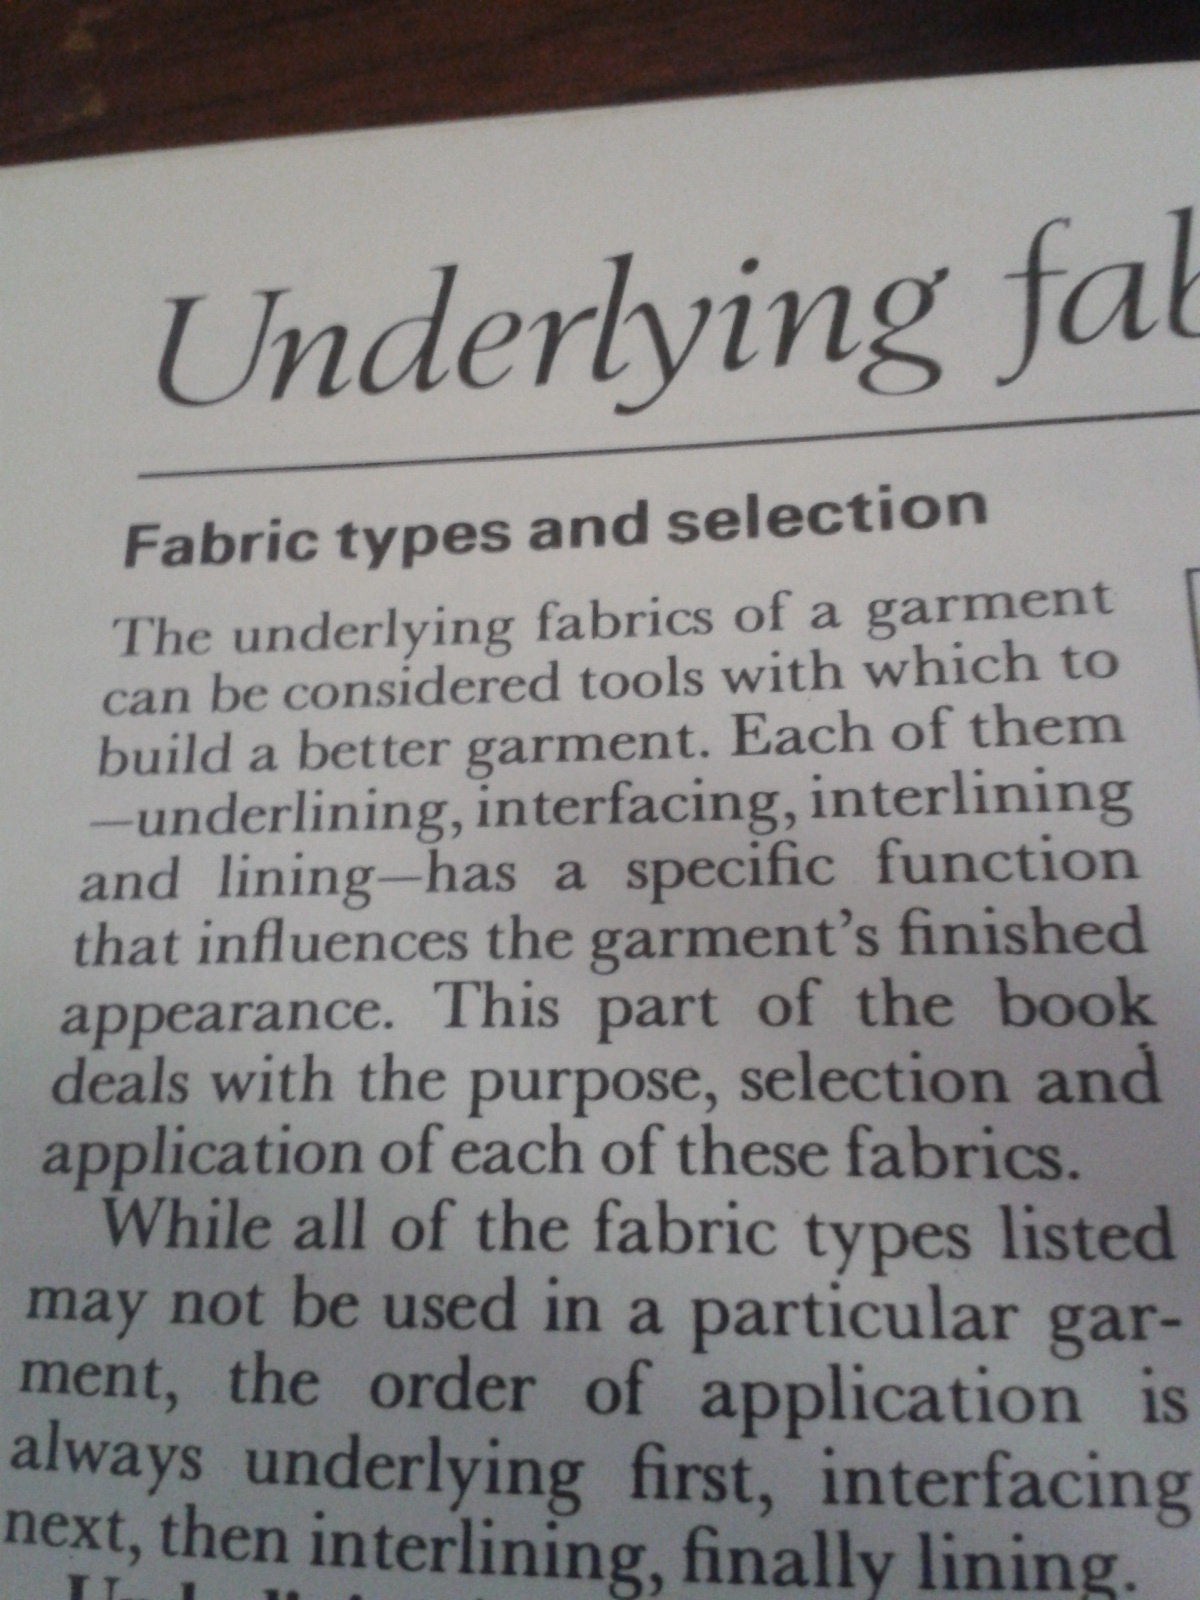
Which I am looking forwards to going through. This one too;

I’ve made the dress already though, and here’s a rough breakdown of the process (the one I took, that’s not officially sanctioned by any kind of Reader’s Digest anything);
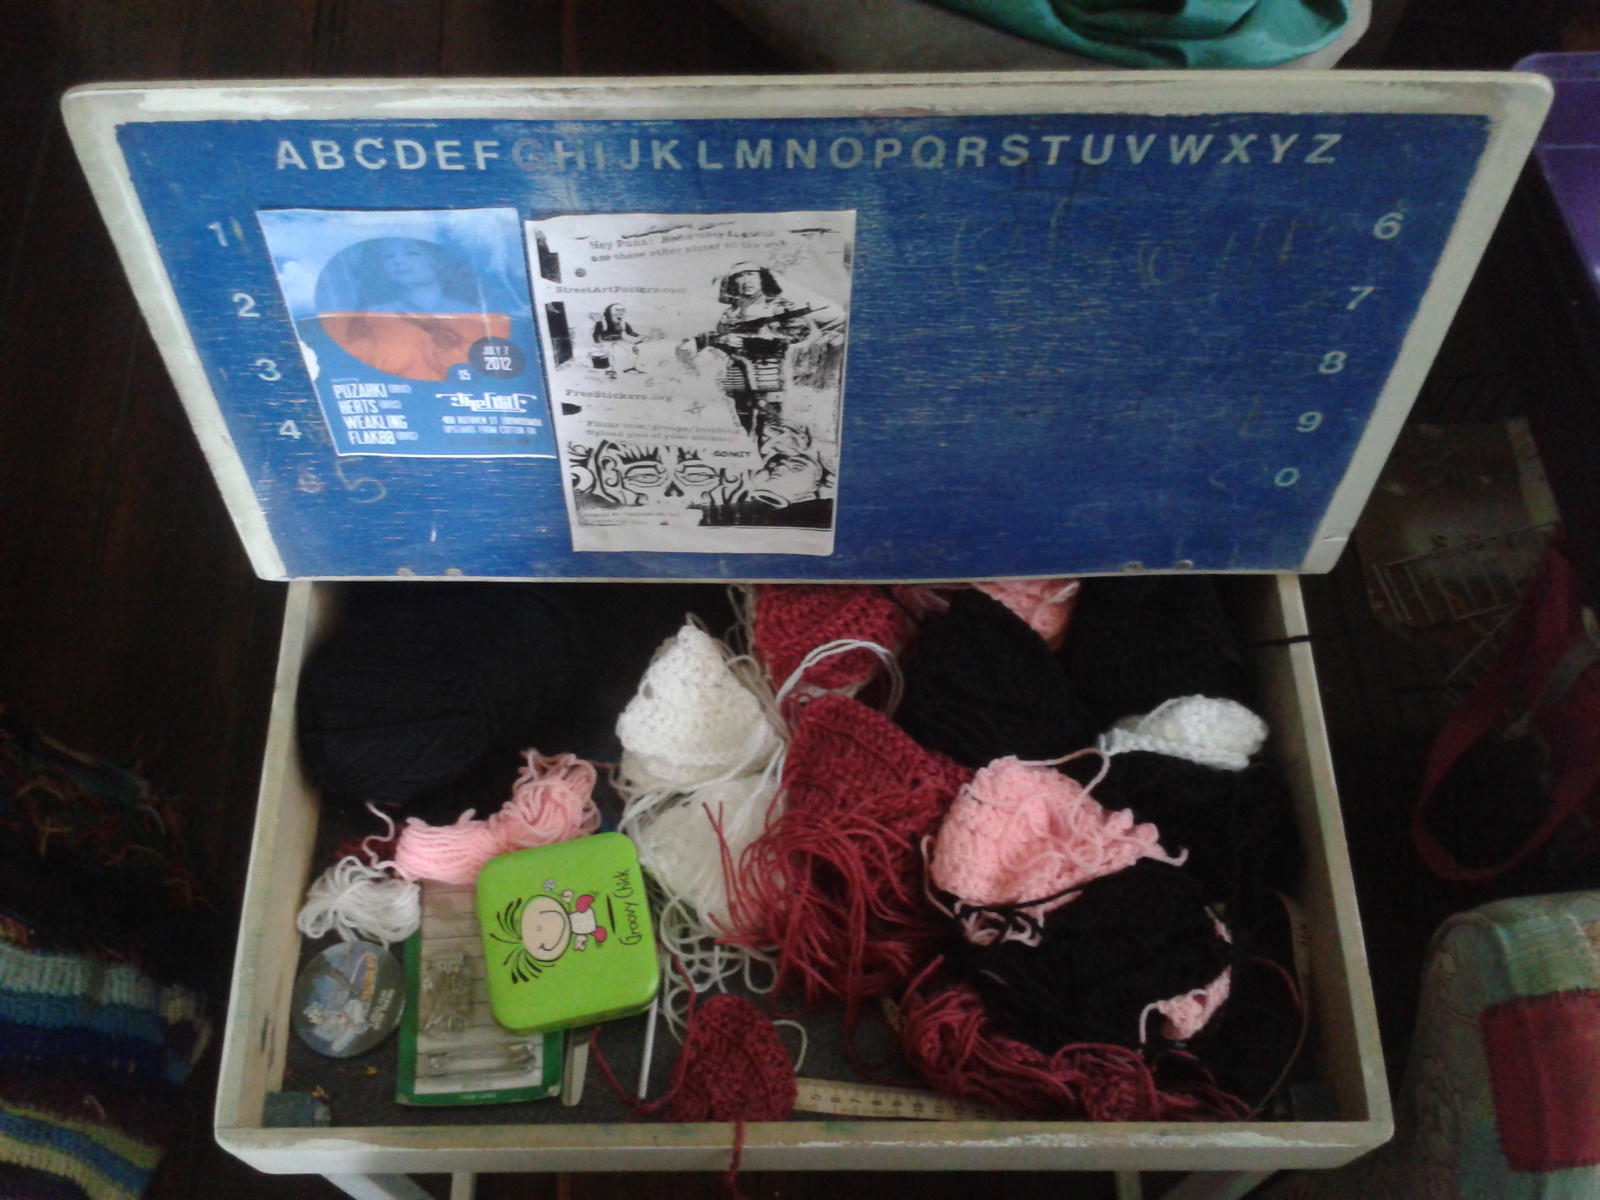
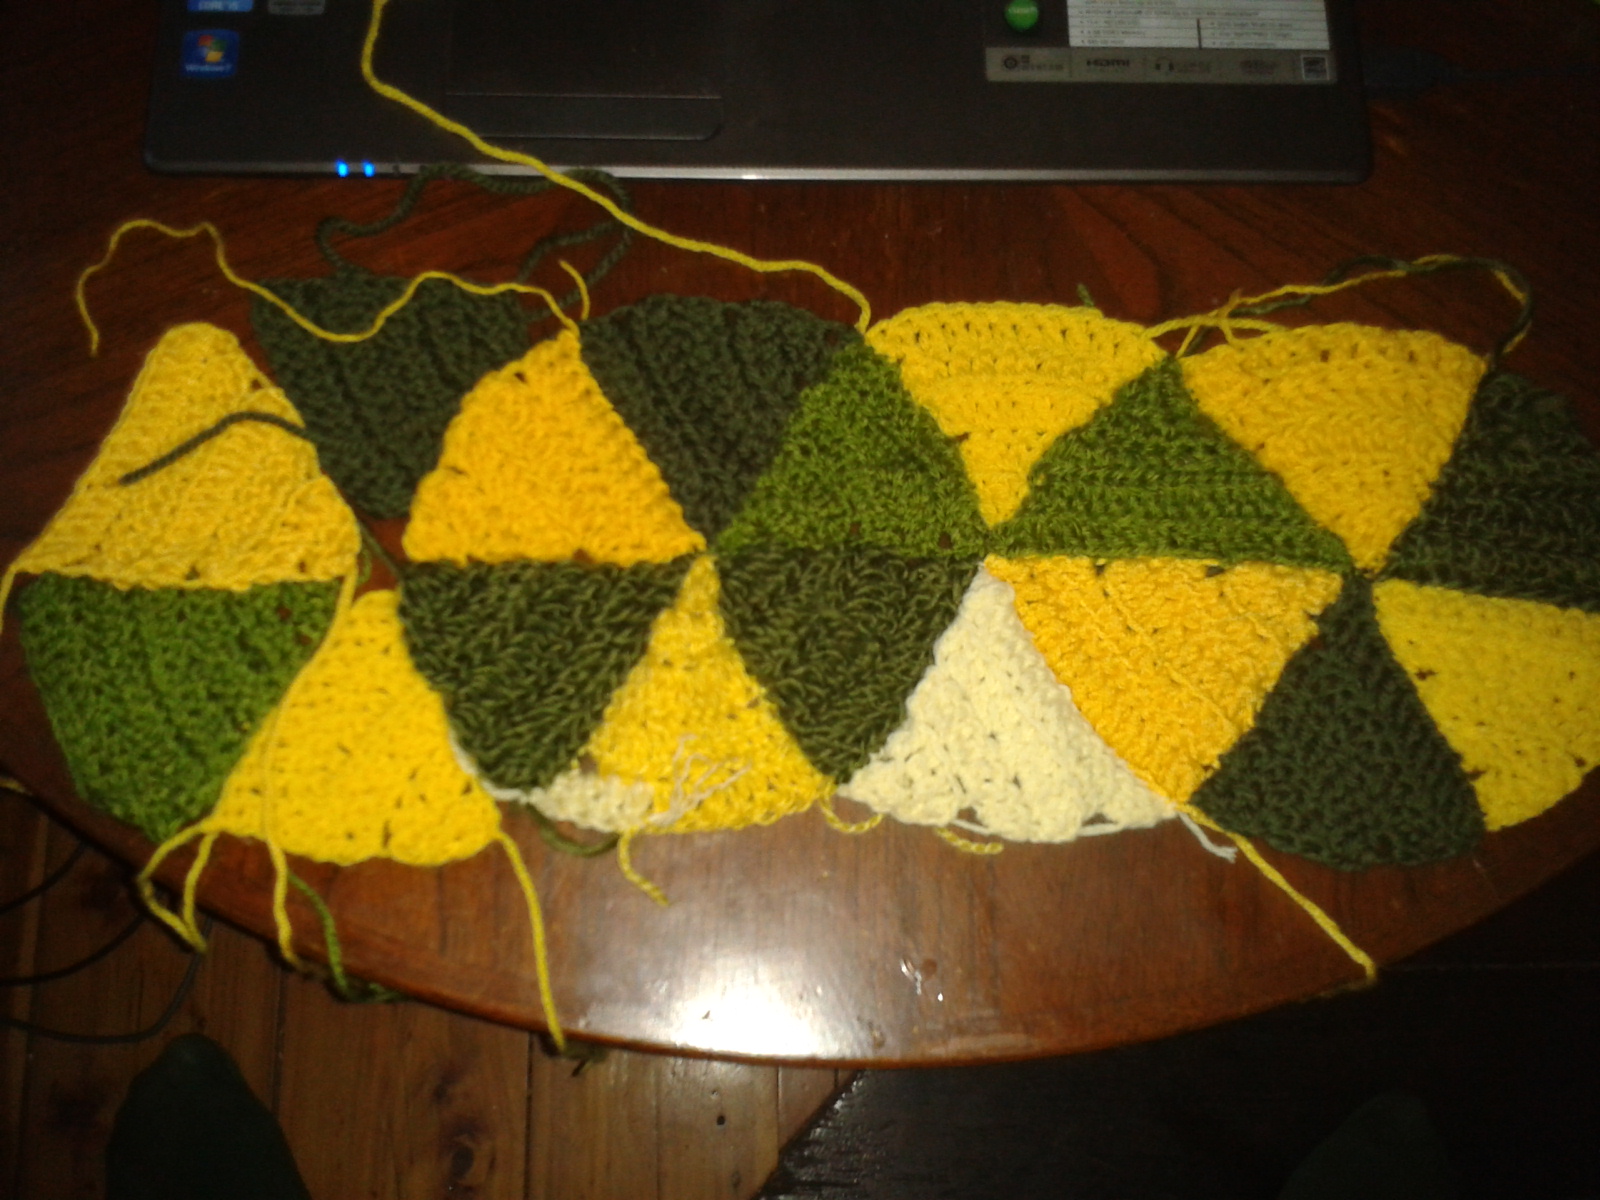
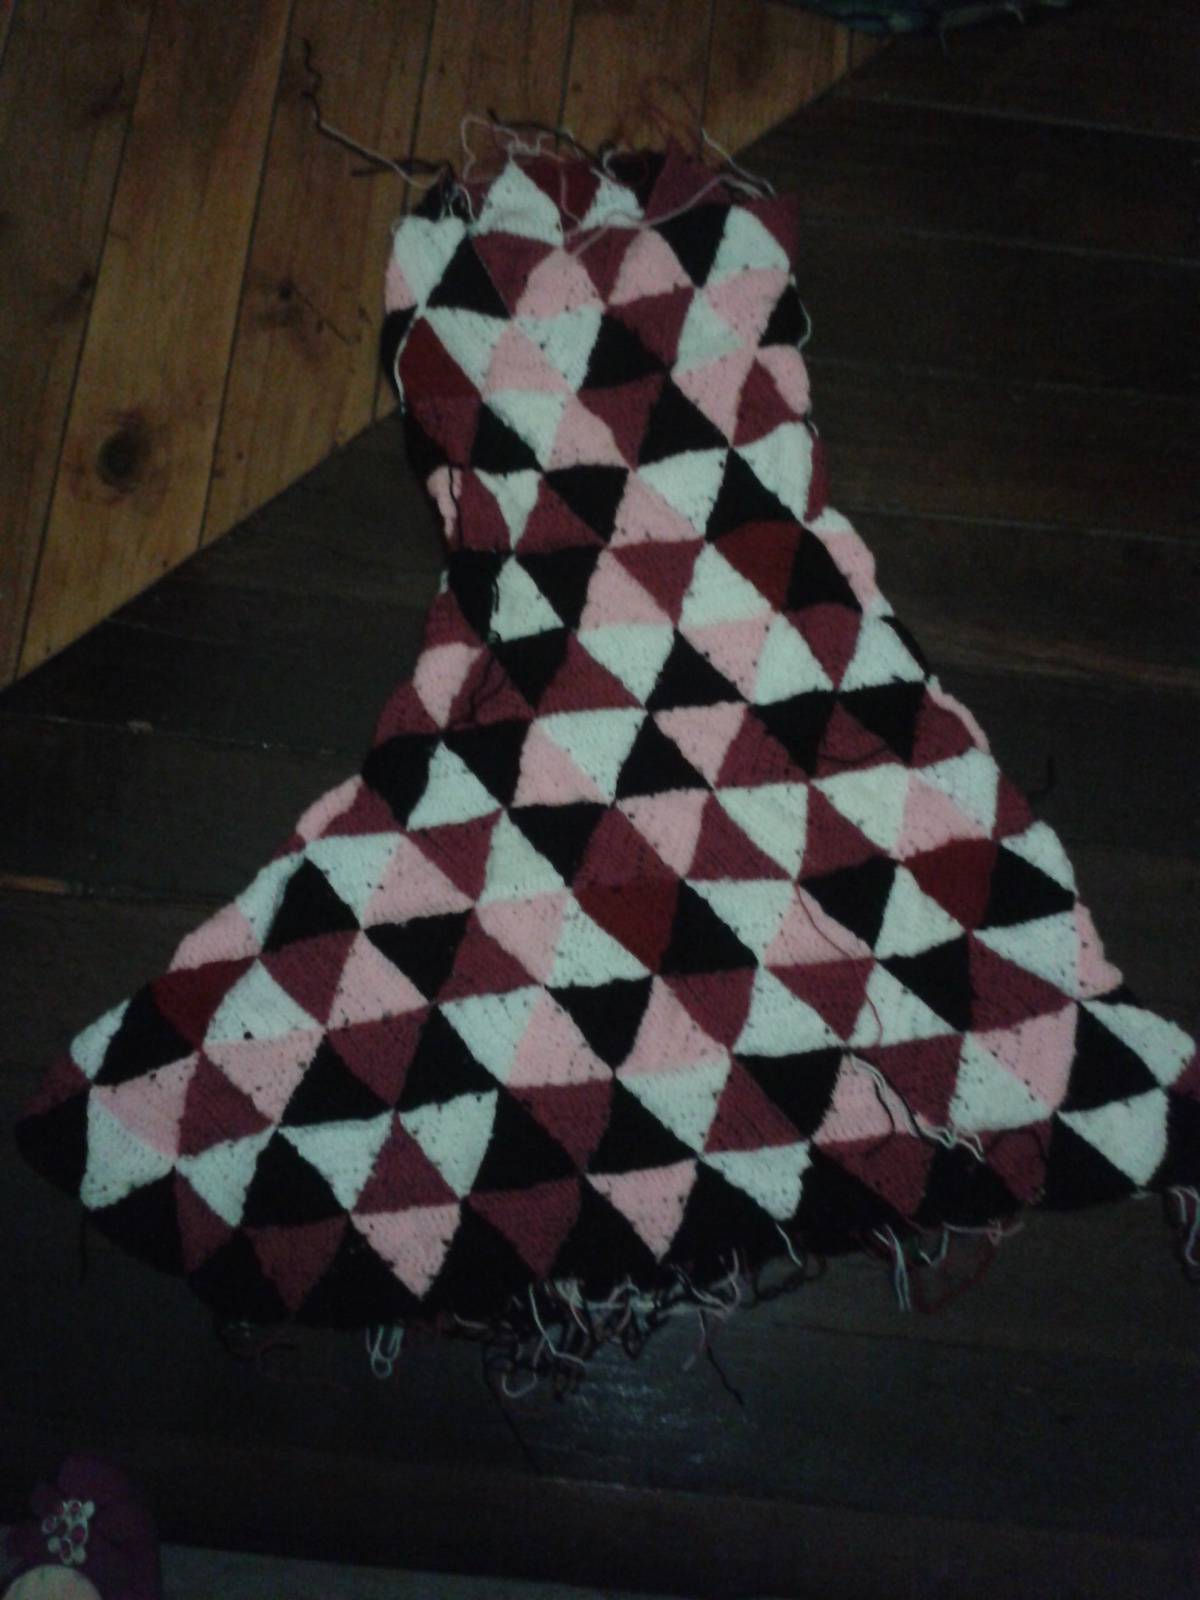
Step one; create a lot of uniform triangles.
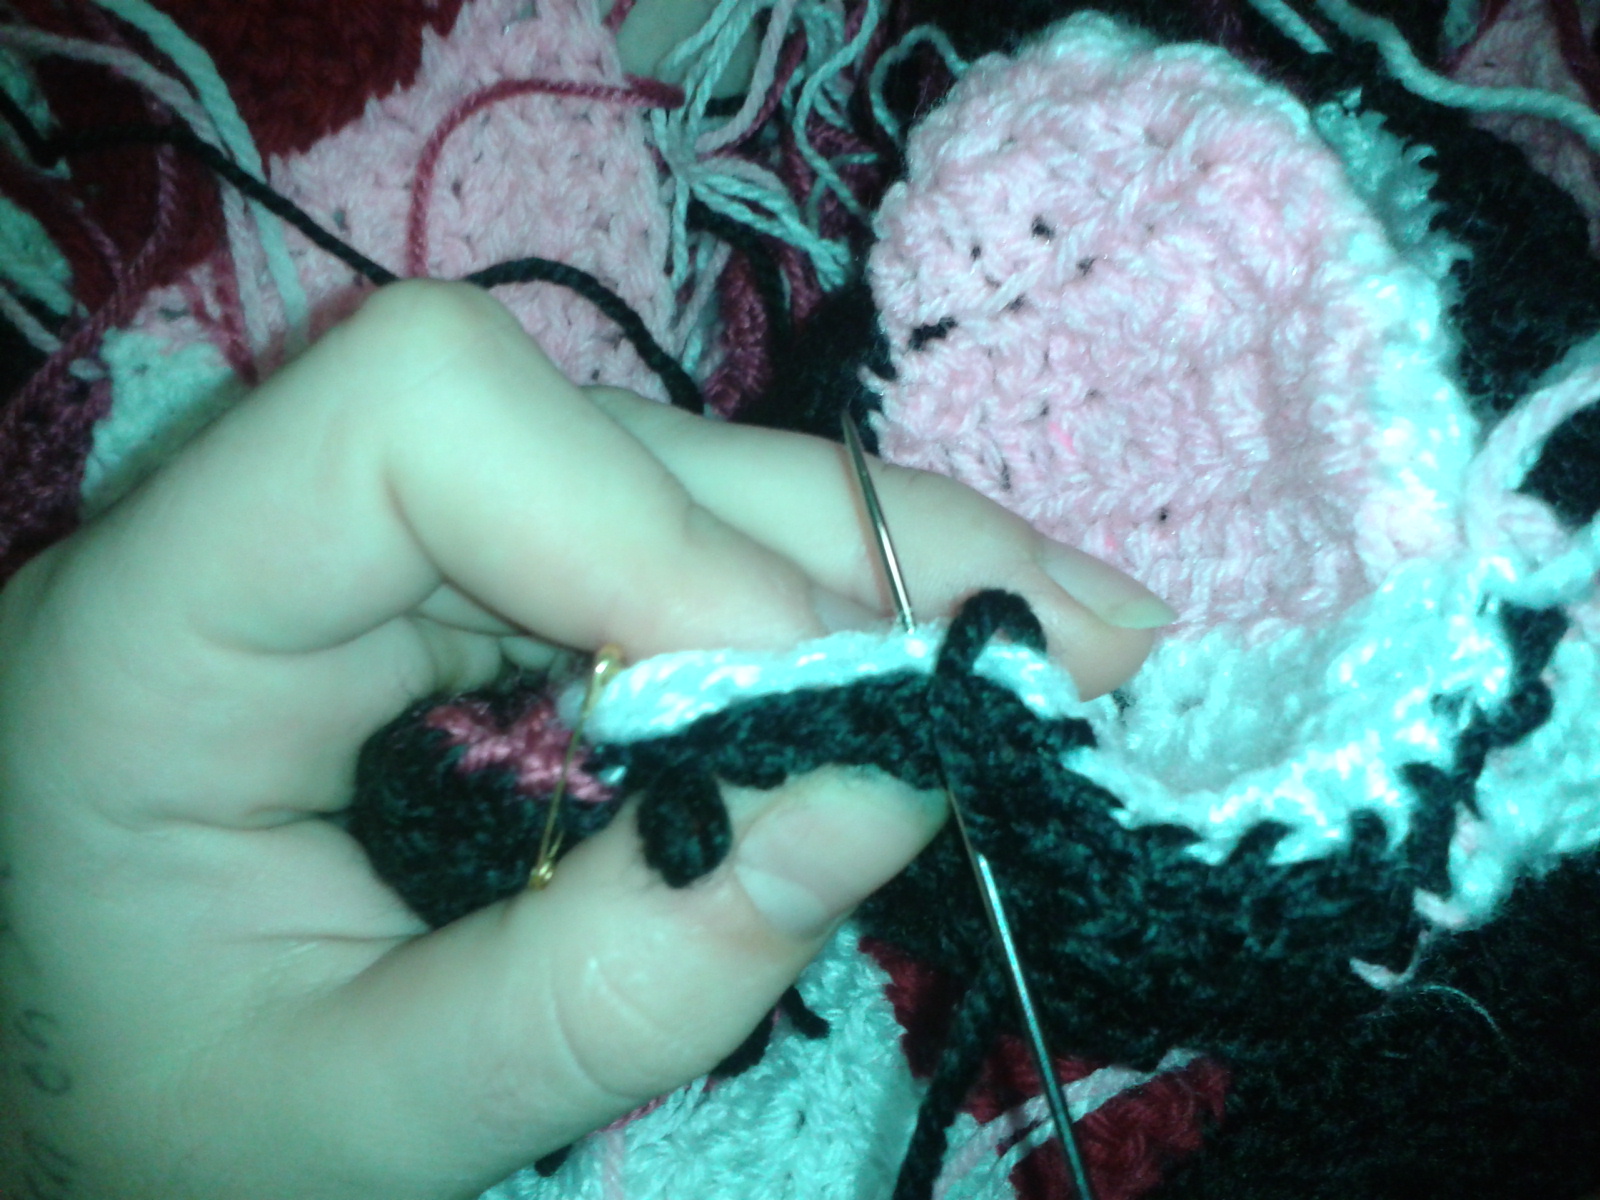
Step two; start sewing them together. Note that the tesselation will work with the curvature in your body, save this information for later.

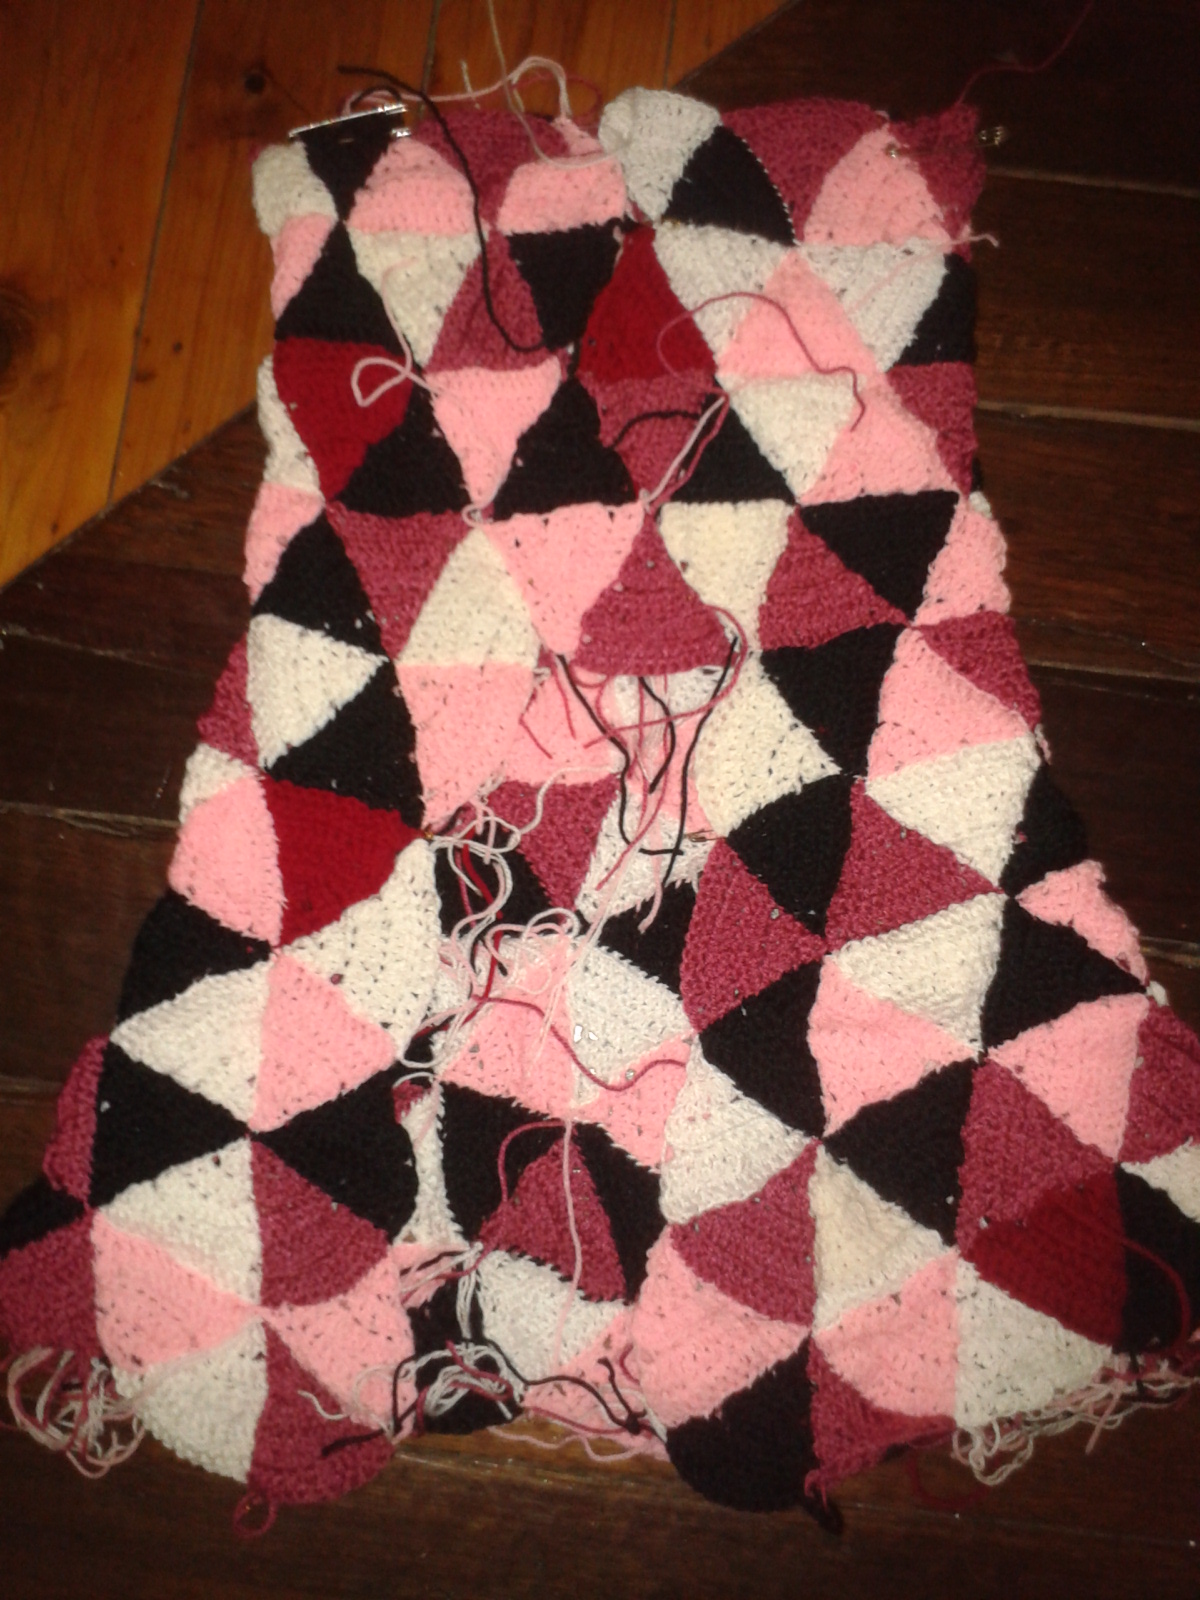
Step three; just keep sewing on those triangles to create enough material to cover everything.

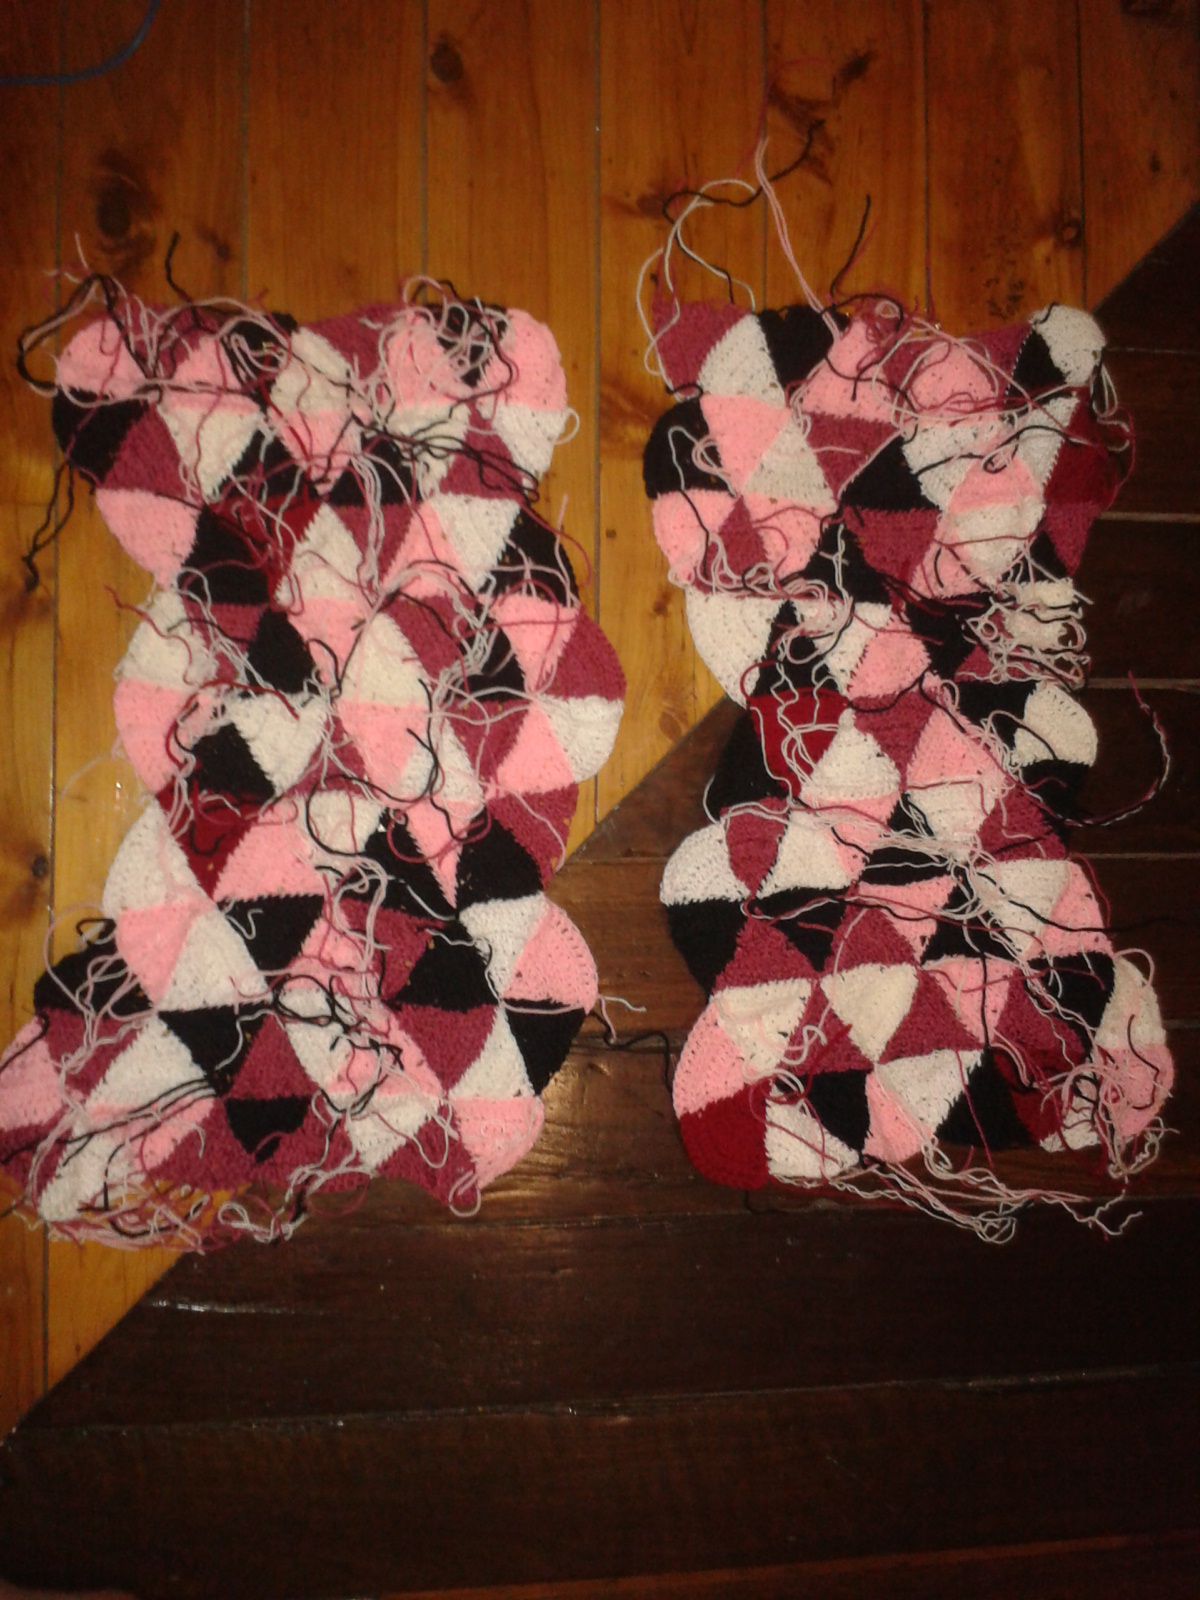
This is the longest stage, although it goes pretty quickly because there’s a goal to get to, a designated amount of material to create. The end finishes perhaps take more time due to the last-stage fiddling around with small details.
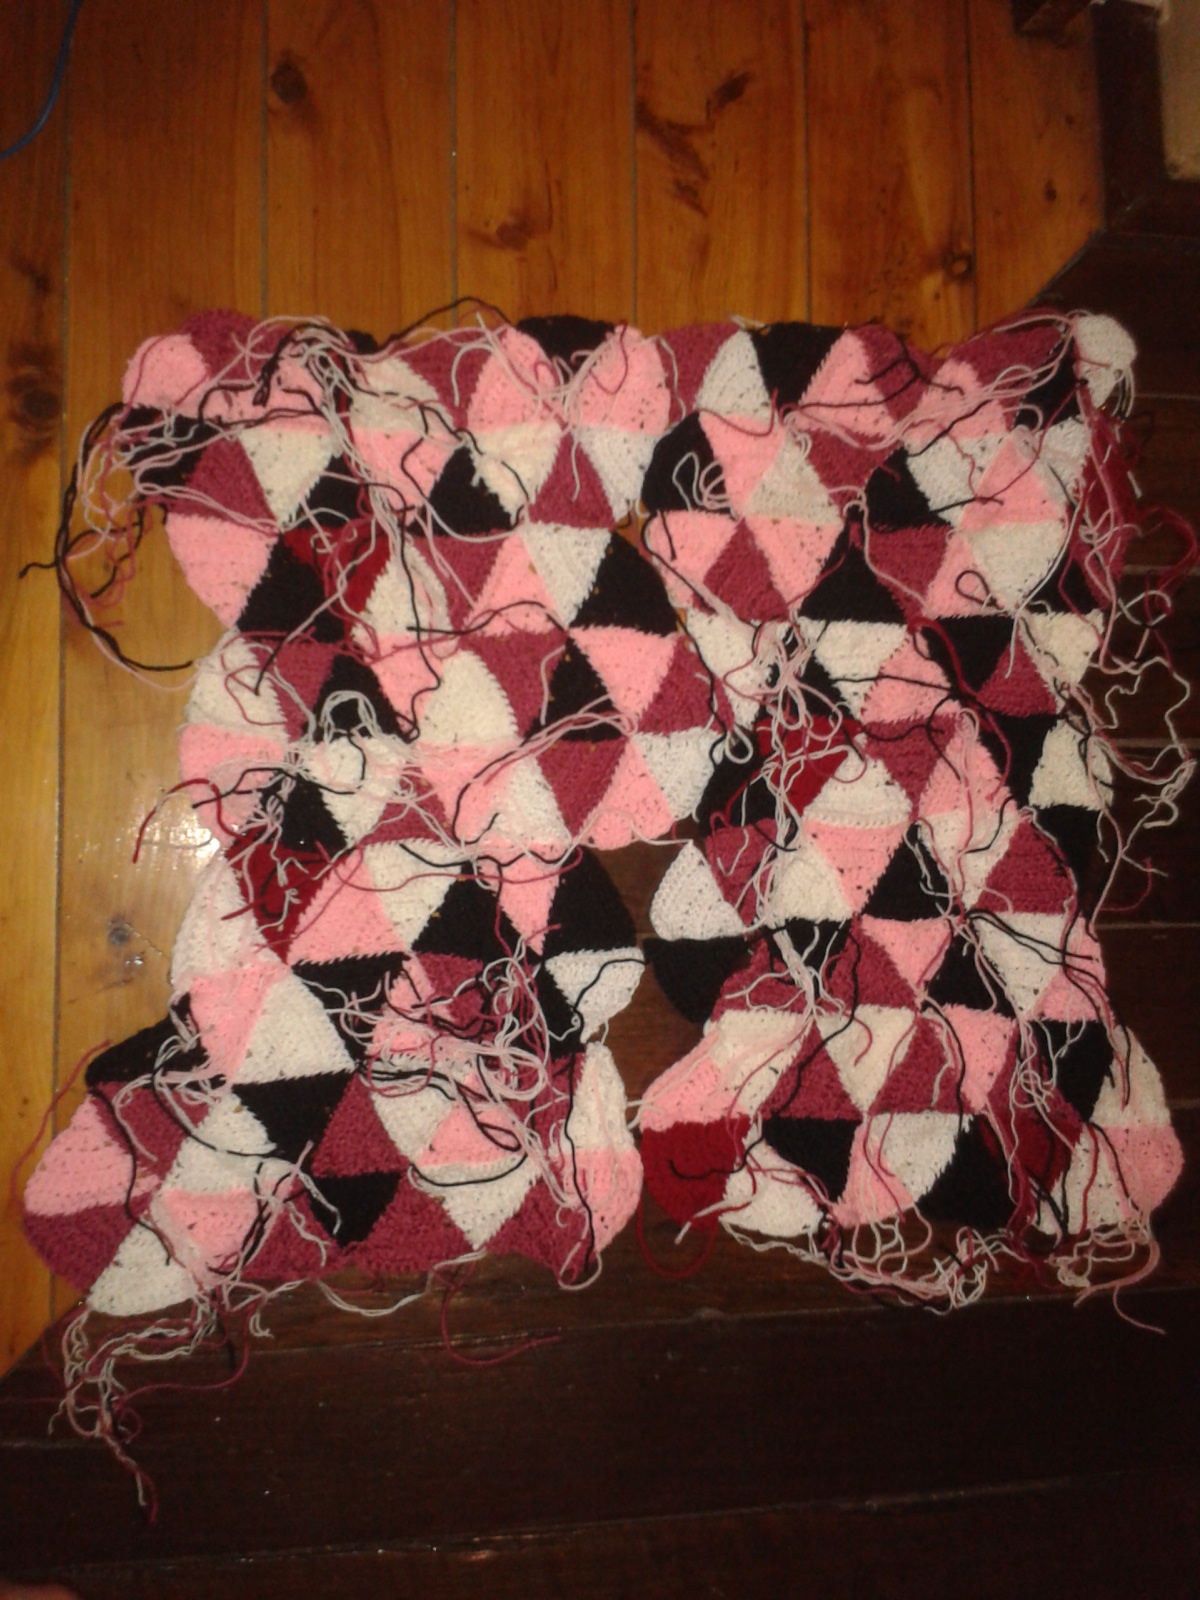
Step four; closing it up to add in a zip. This was another stage that required some playing around, so that same-coloured tringles didn’t end up being sewn together. Another was removing some triangles around the waistline to add some definition. Already, the stitching and seams for the triangles was starting to make my torso look like a multicoloured woolly sack (heh) and so I felt that a waist line was an important addition to the finished piece.
So, the triangles are sewn in a pattern creating hexagons with two triangles on each side at the top and bottom buttressing a following hexagon.
Here’s what I did to create the waistline: a few of these dress hexagons are actually pentagons (sneaky, right?)
Step five; sew it all up the sides and include a zip which you forget to take any pictures of.
Step six; what’s left? Surprisingly few triangles, actually:
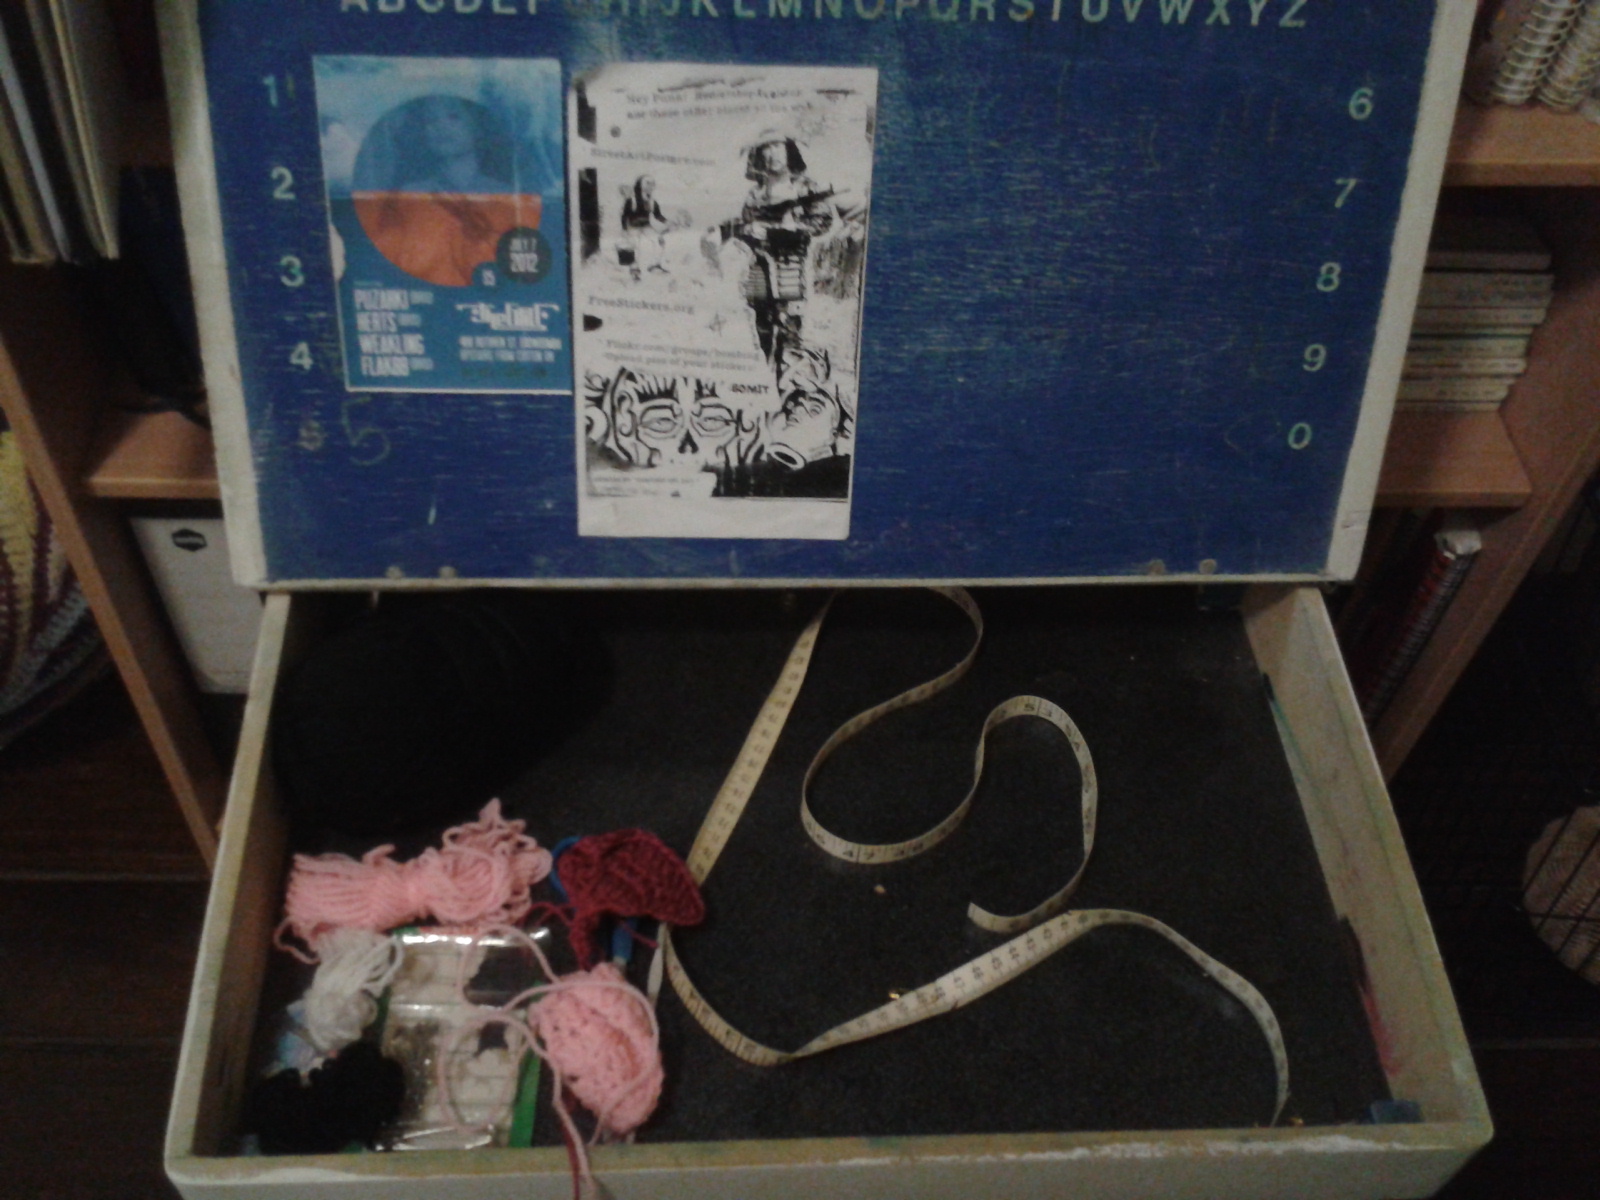
What’s left will be great since I need to add about that many more to the top to create some kind of neckline.
So the majority of the dress is finished. Step six is taking stock, seeing what should be done next. That is pretty obvious both when I lay it out and when I wear it: one side is longer than the other.
This was addressed by creating a longer black line on one side of the dress, with a bulkier, curlier set of ruffles which balances out the sides (at least for me, there’s no longer a noticable weight issue on one side as opposed to the other).
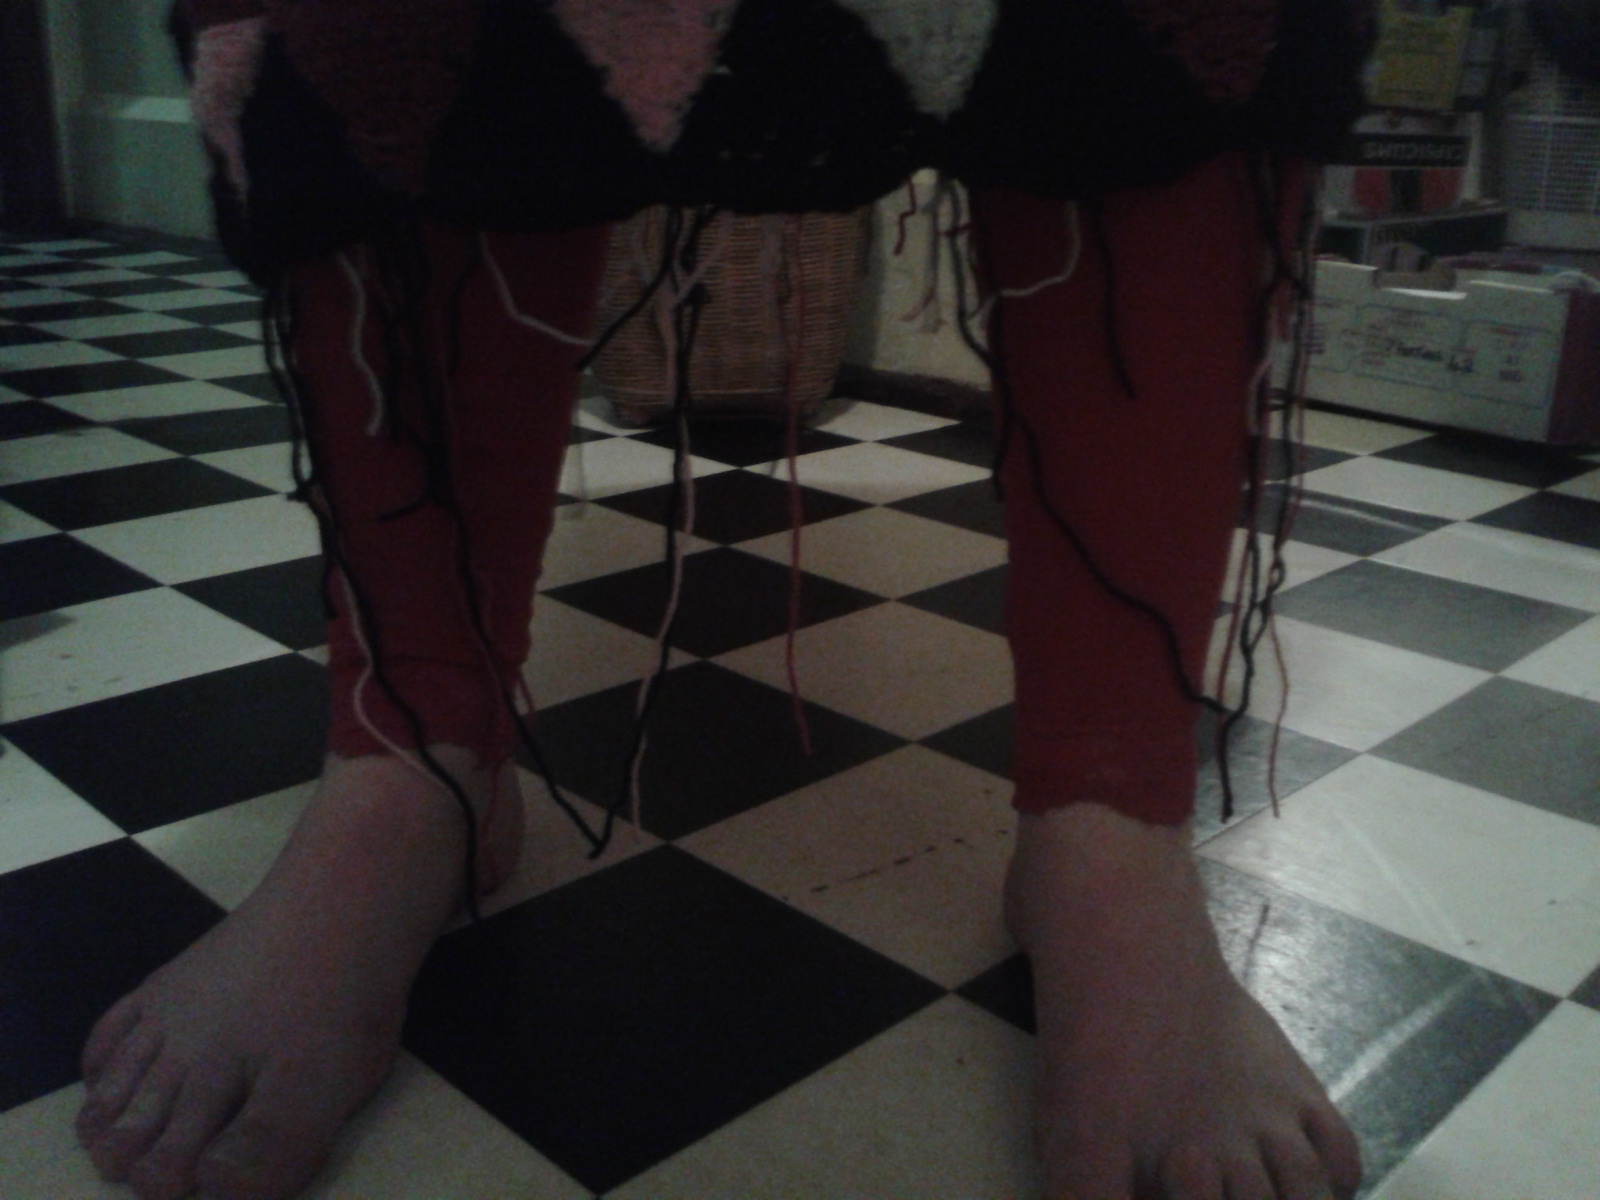
Step seven, was obviously then, hemming.
Step eight; neckling and straps. This was done by measuring the distance from the dress as worn when sitting and knowing the tension of the wool from working with it over the last three weeks. So, after chaining and attaching spaghetti-like straps to the dress, it was really a matter of building up the thickness with a series of single, double and half-treble crochet stitches (and remembering one side to be able to repeat it for the other).
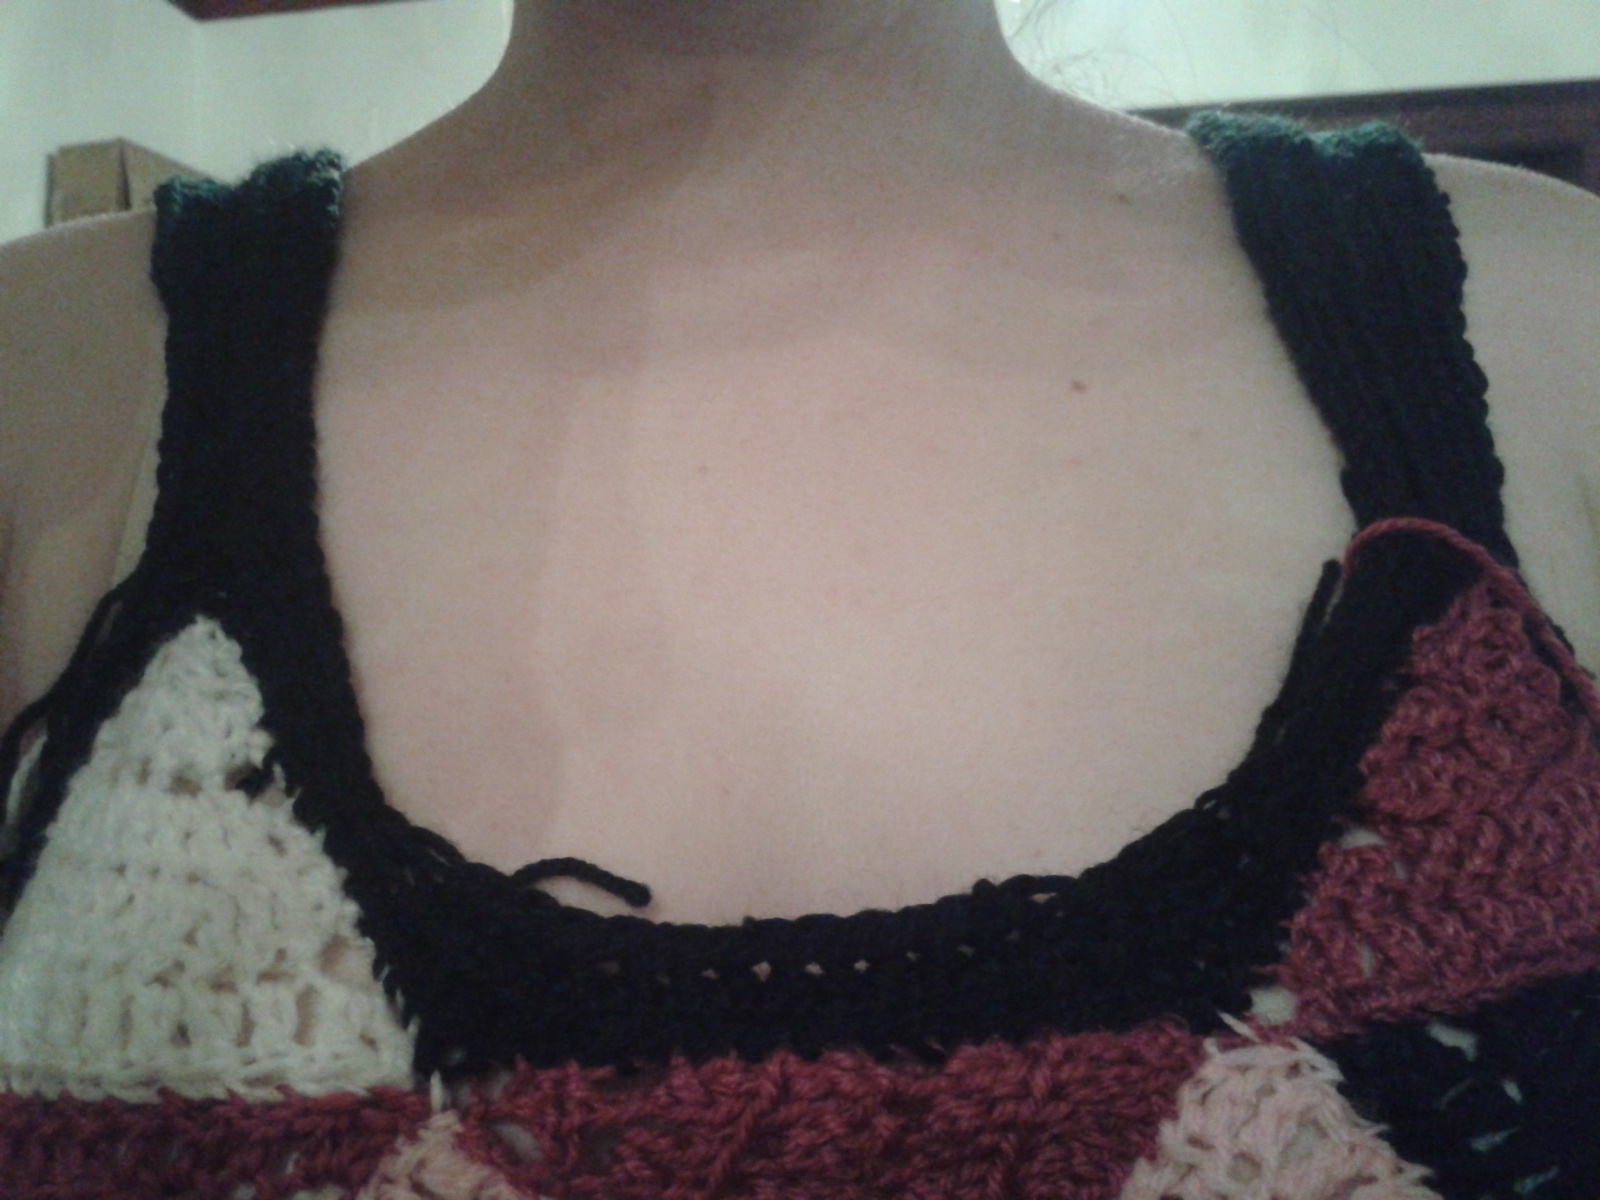

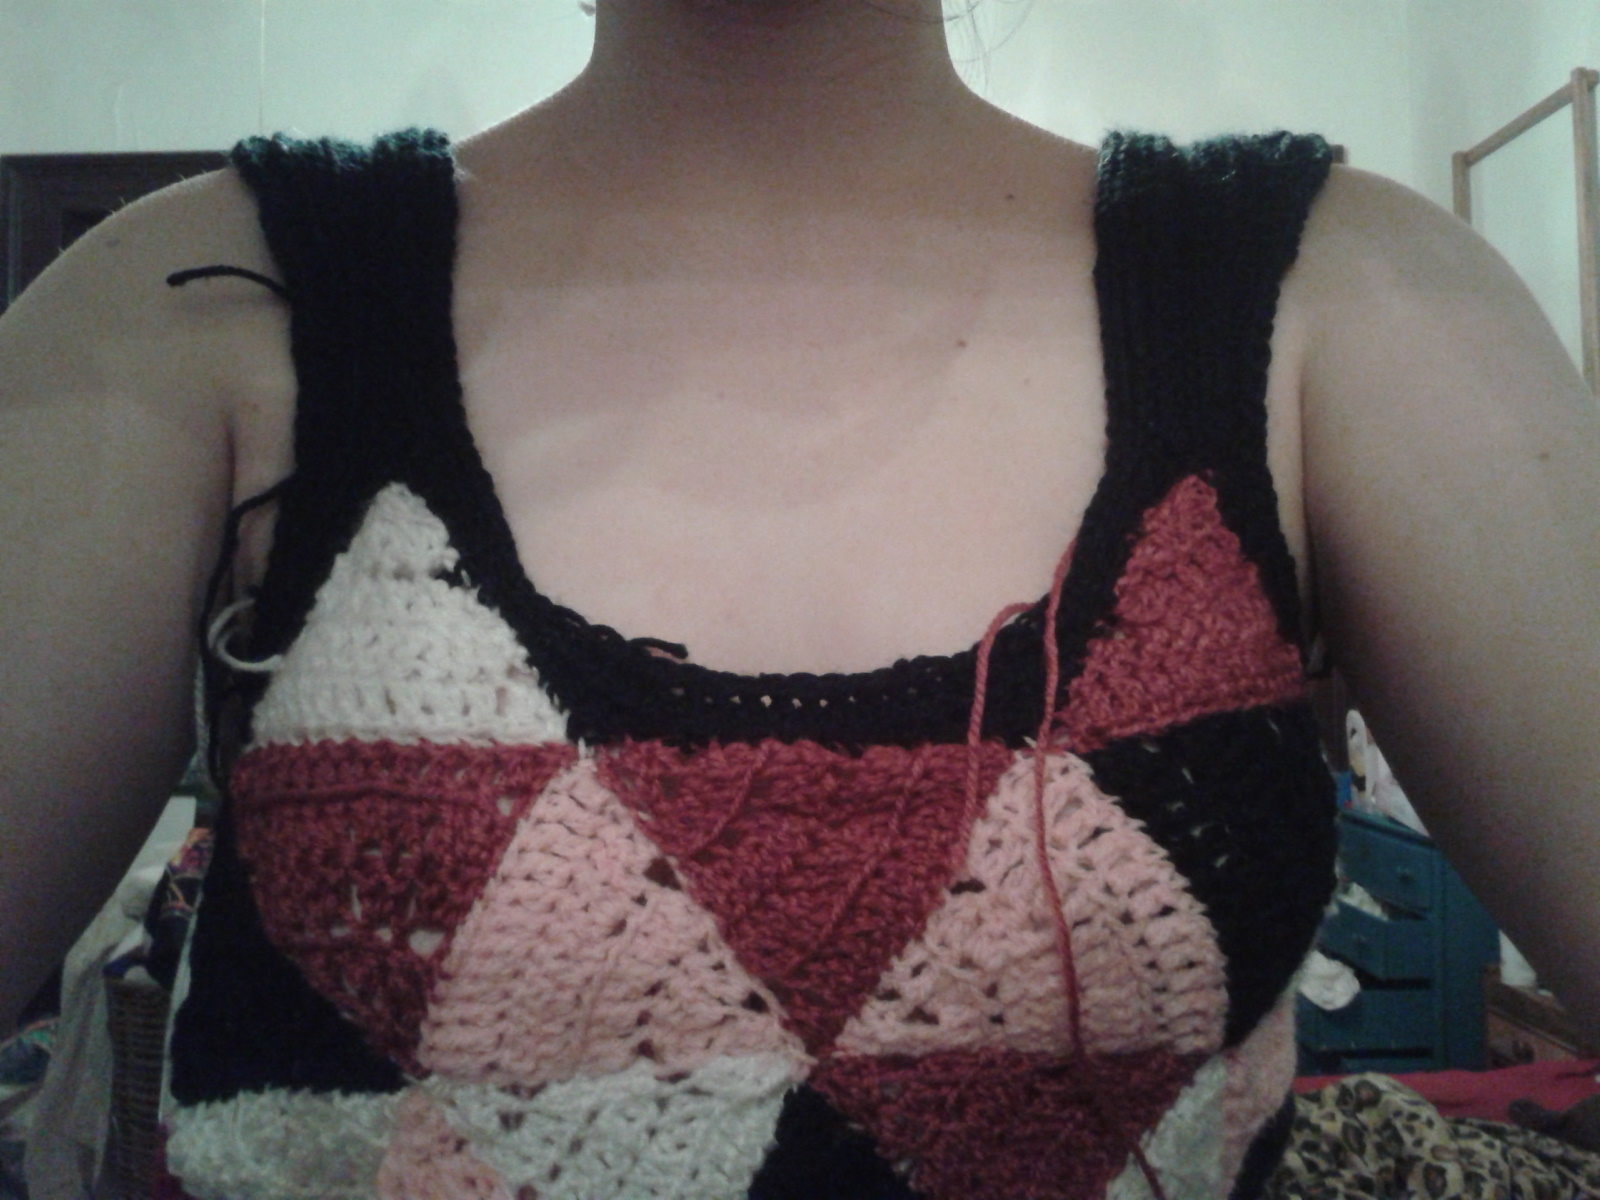
Eventually, I am finished with the straps of the dress, and want to add some ridiculosity. And why the hell not?

One lady, three weeks, a hundred triangles, one dress.


Responses
Hey KM,
This is a great project. Looks great on you as well! Thanks for sharing your process – very interesting read.
Thank you!